Nothing brings fall into your decor better than pumpkins, and these adorable sweater pumpkins are super easy & fun to make.
All you need is an old sweater in any colour that would compliment your decor. I like the traditional fall colours as my house has a lot of deep wood trim and warm paint colours.
I bought a few sweaters from a thrift store focusing on the colour and texture of the knit instead of the style of the sweater itself as I planned on using just the sleeves for this project. Sometimes, depending on the design of the sweater, you can get an extra pumpkin by using the neck or a giant one from the body of the sweater.
Most materials you’ll probably have on hand but if not, you can fill your list at thrift stores, grocery stores, and of course, your local Walmart.
Materials needed:
- an old sweater sleeve cut to desired length. You can cut a full length sleeve into three parts creating a set of three matching pumpkins in small (cuff end), medium (elbow area), & large (from near the shoulder) sizes.
- scissors
- wire cutters – if using the wired jute for the stem.
- strong string or wool.
- large blunt needle with eye (one used in knitting or crochet projects is perfect).
- hot glue gun & glue
- craft/popsicle sticks
- dried beans – I used Pinto beans (purchased from any grocery store).
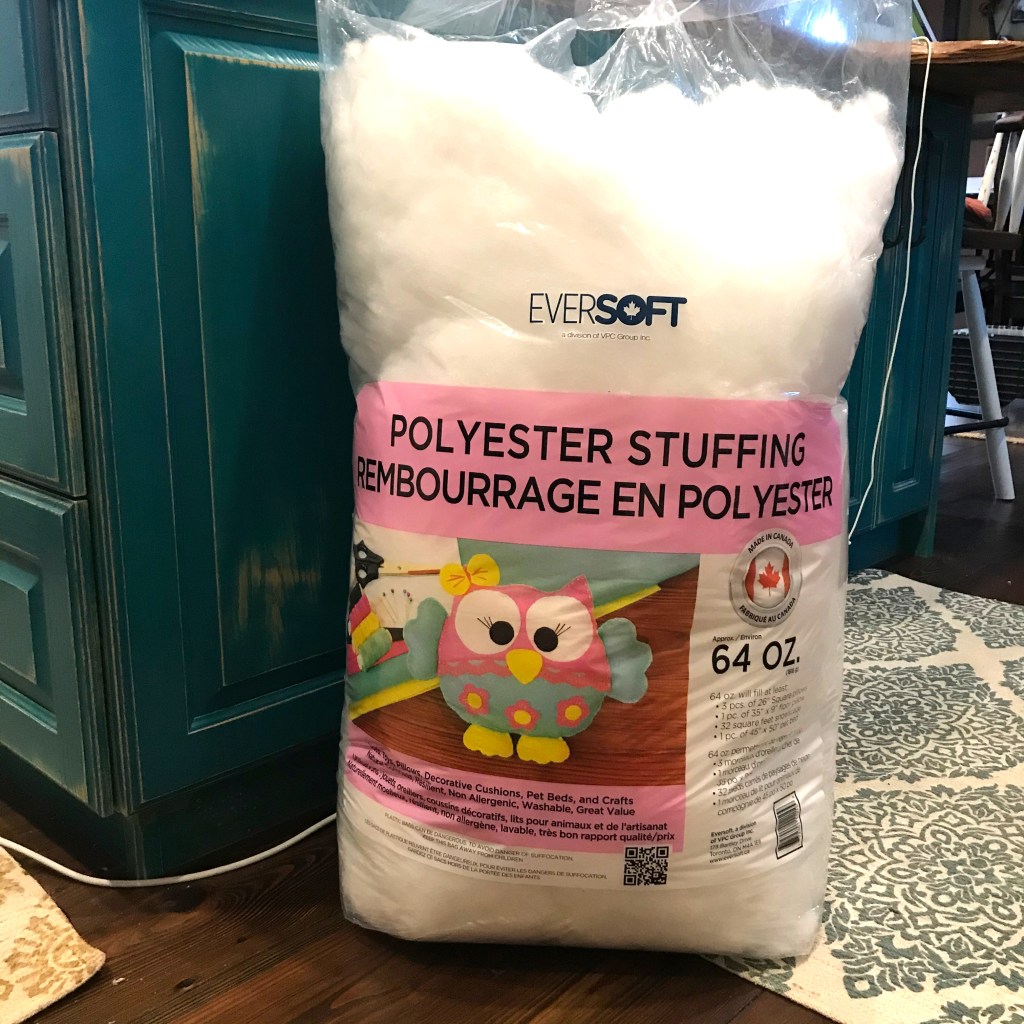
- polyester stuffing (or any other stuffing material).
- jute twine (or any pretty string or ribbon) – for tying around your pumpkin making the grooves.
- raffia, wired jute (both I purchased from a dollar store) or any other material to be used as the stem. Old spindles & sticks work well too.
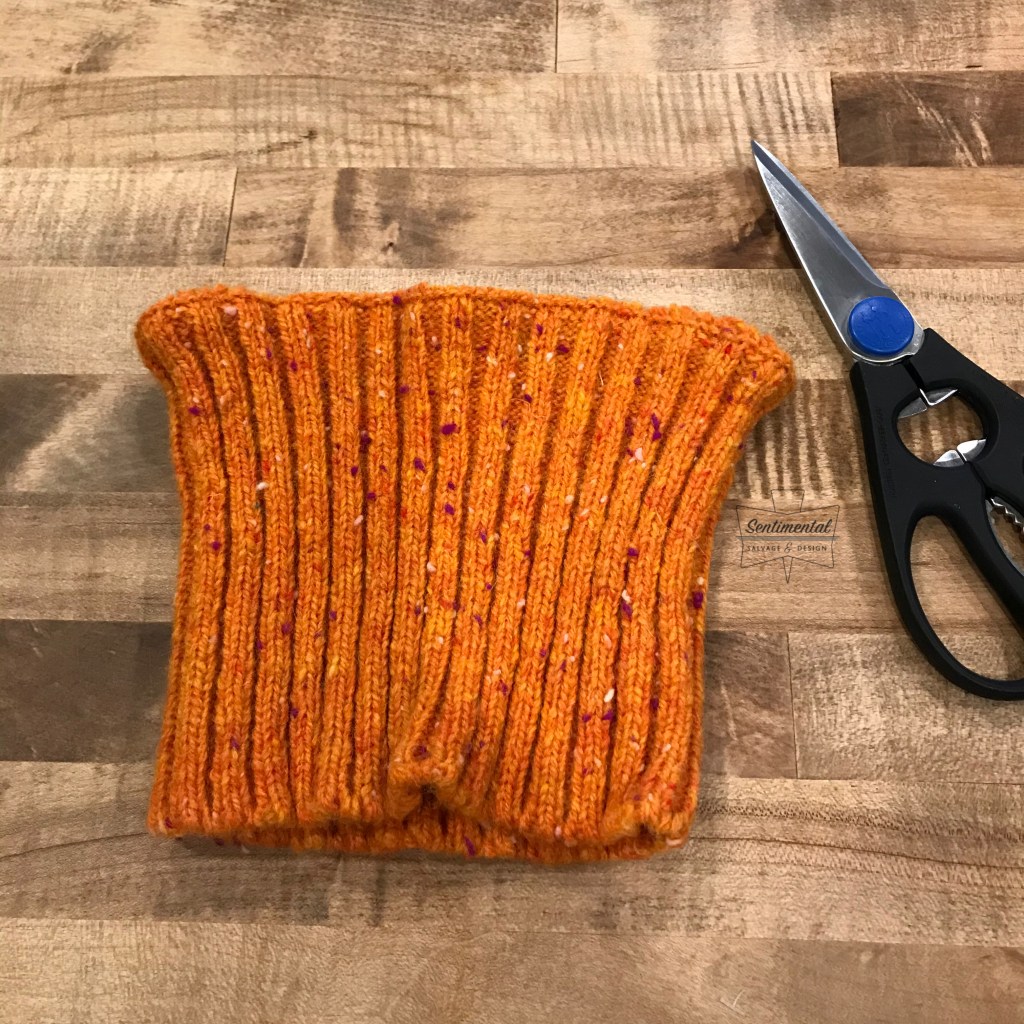
Start with chunk of sleeve (or a neck… as pictured) and simply cut it to the desired length. Keeping in mind the curvature of your pumpkin – you don’t want to cut it too short. Don’t worry about it unravelling as you’ll be sealing it up right away.
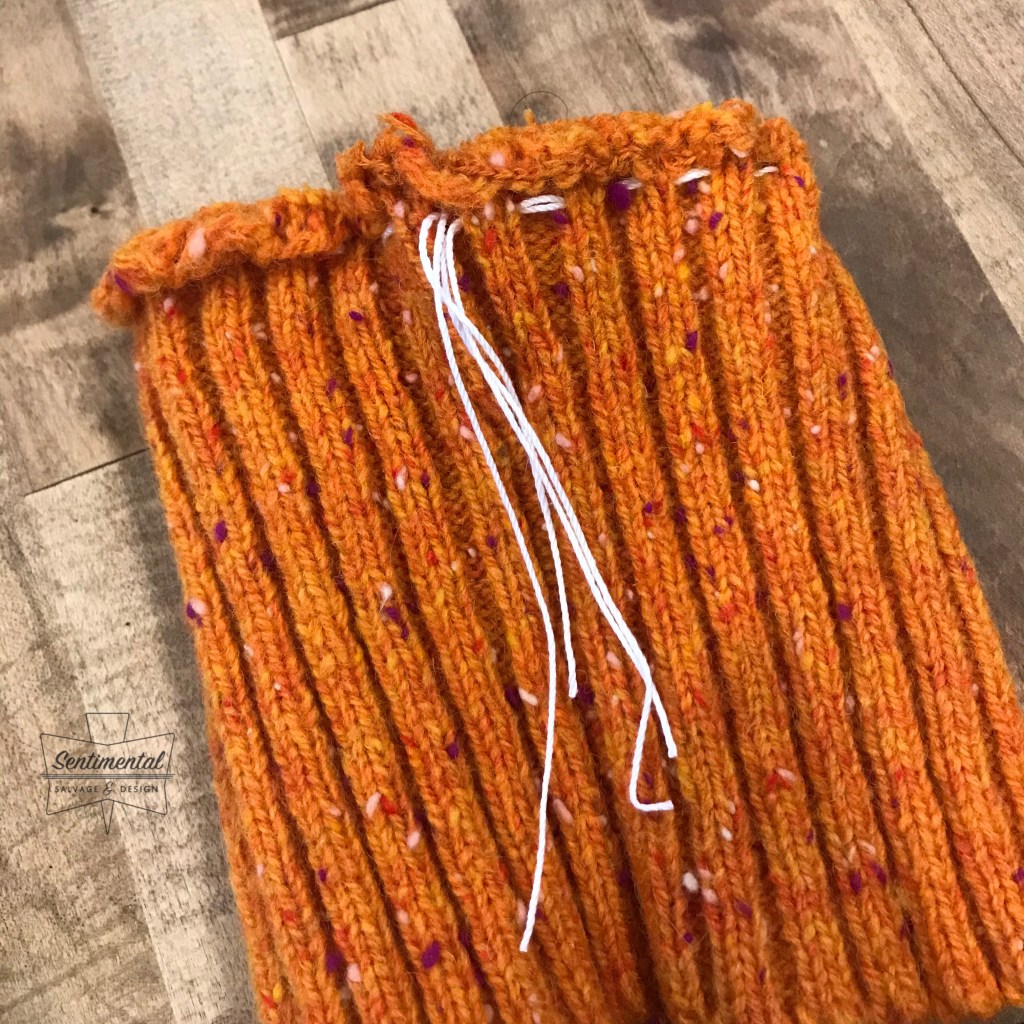
Flip it inside out and begin by threading a large needle with wool, or other strong string. You’re going to be pulling pretty hard on this string so make sure it’s strong. Testing it first by giving it a good hard pull is a good idea so you don’t break it after all the work of threading it through.
IMPORTANT – the edge that you will be using as the BOTTOM of your pumpkin is to be stitched FIRST.
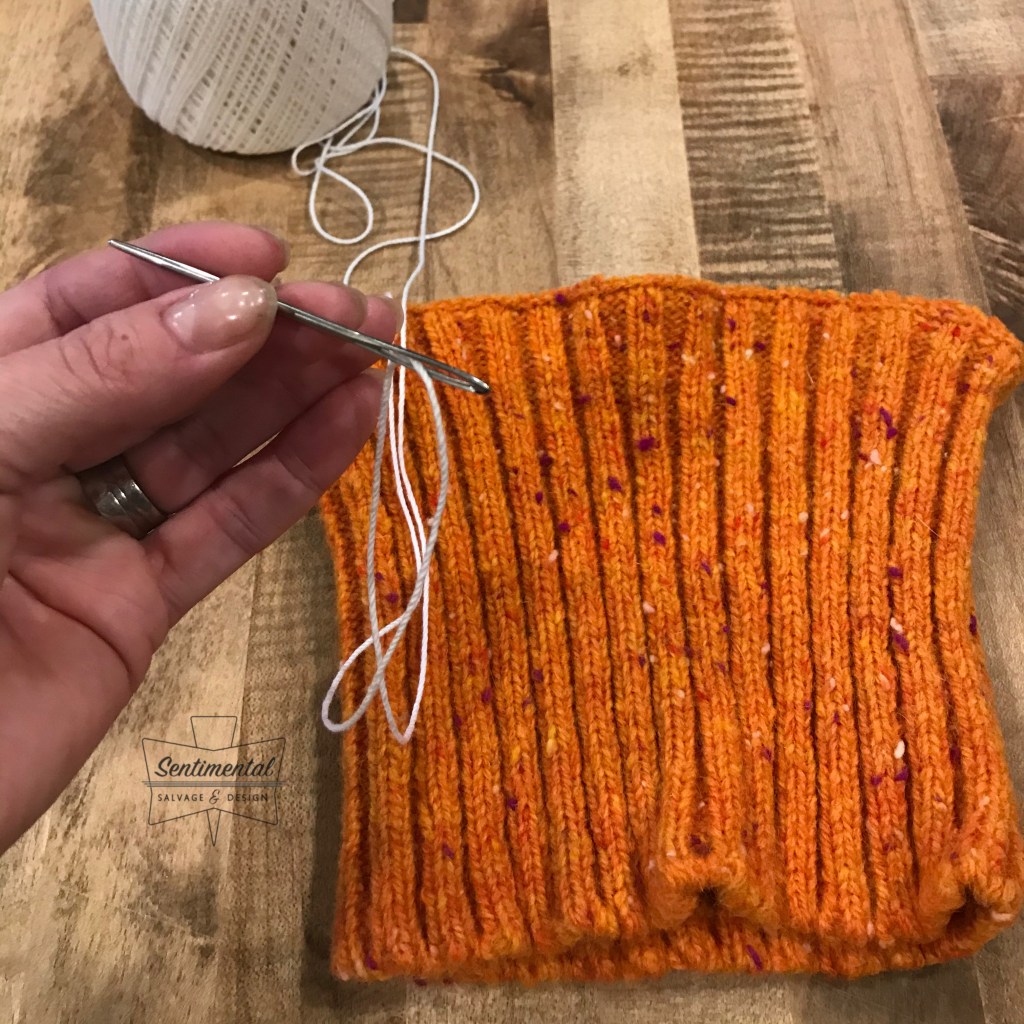
Using a basic running (in & out) stitch, thread your string all the way around the edge of your sleeve.
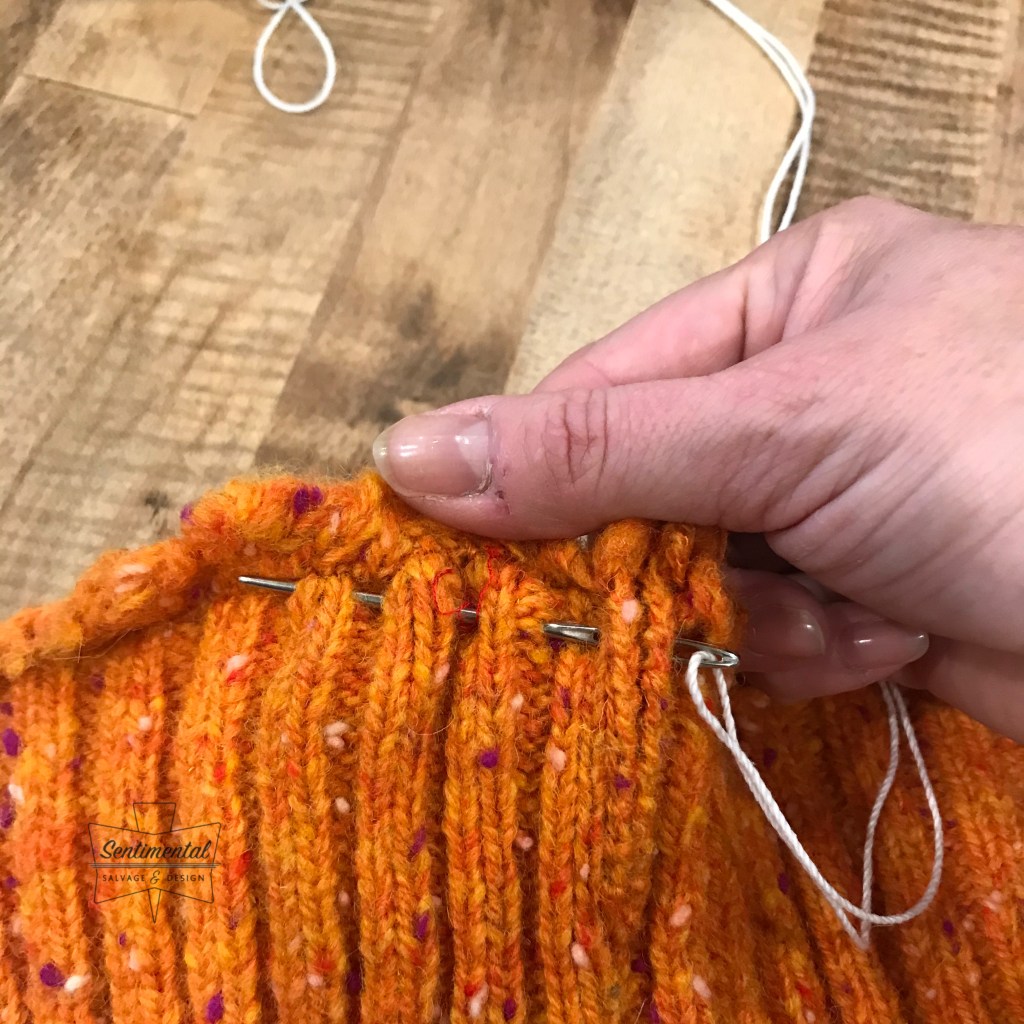
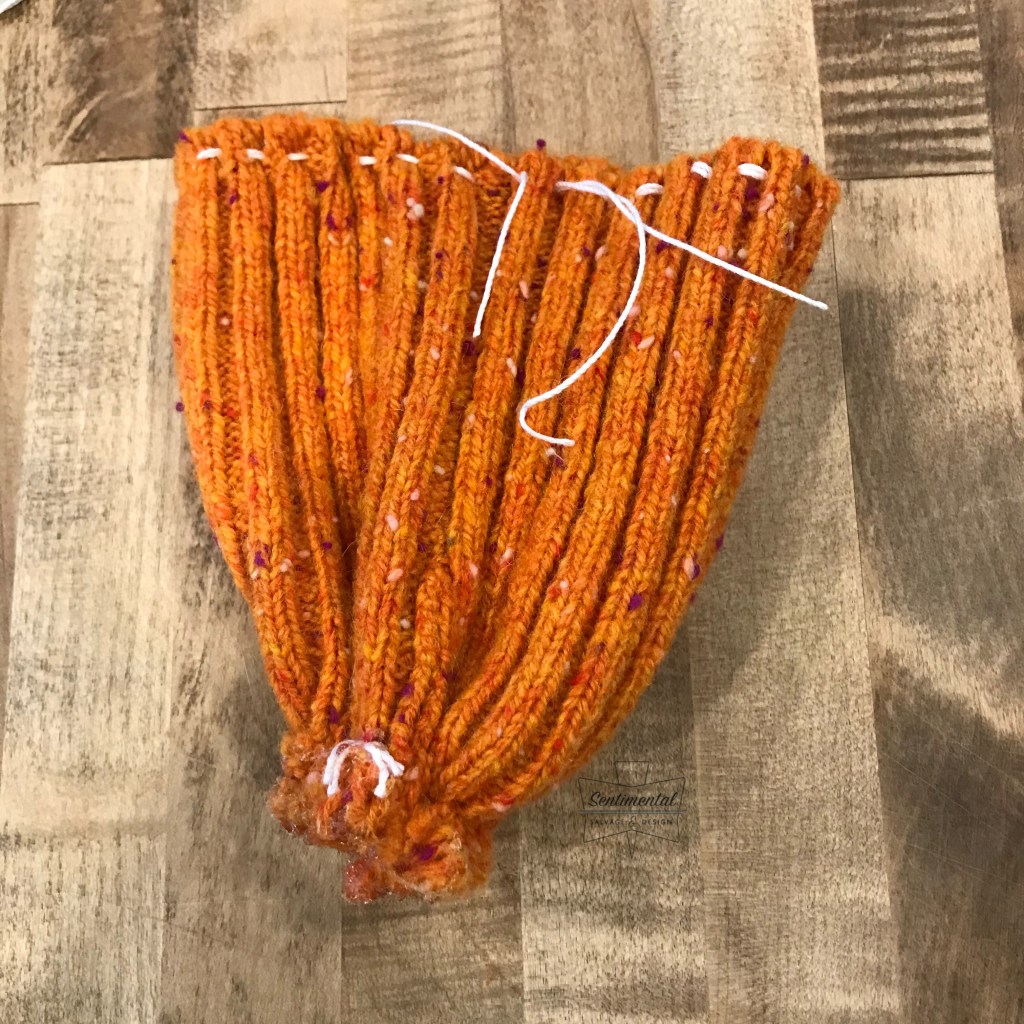
Continue this all the way around the bottom edge.
Then pull as tight as you can without breaking your string (or you’ll have to start over) and tie it in a knot. Put a dab of hot glue on knot just for extra security.

Smear hot glue all over the ends of the sweater pulled tight with the string. This isn’t particularly necessary but it will help keep it secure and from unravelling. I used a wooden craft stick to smear the hot glue around, covering all of the cut ends.

Let that glue cool a bit and then do the same running stitch on the other end.
Remember: you’re still working with your “pumpkin” inside out.
Flip the whole thing right side out so it’s like a little bowl.
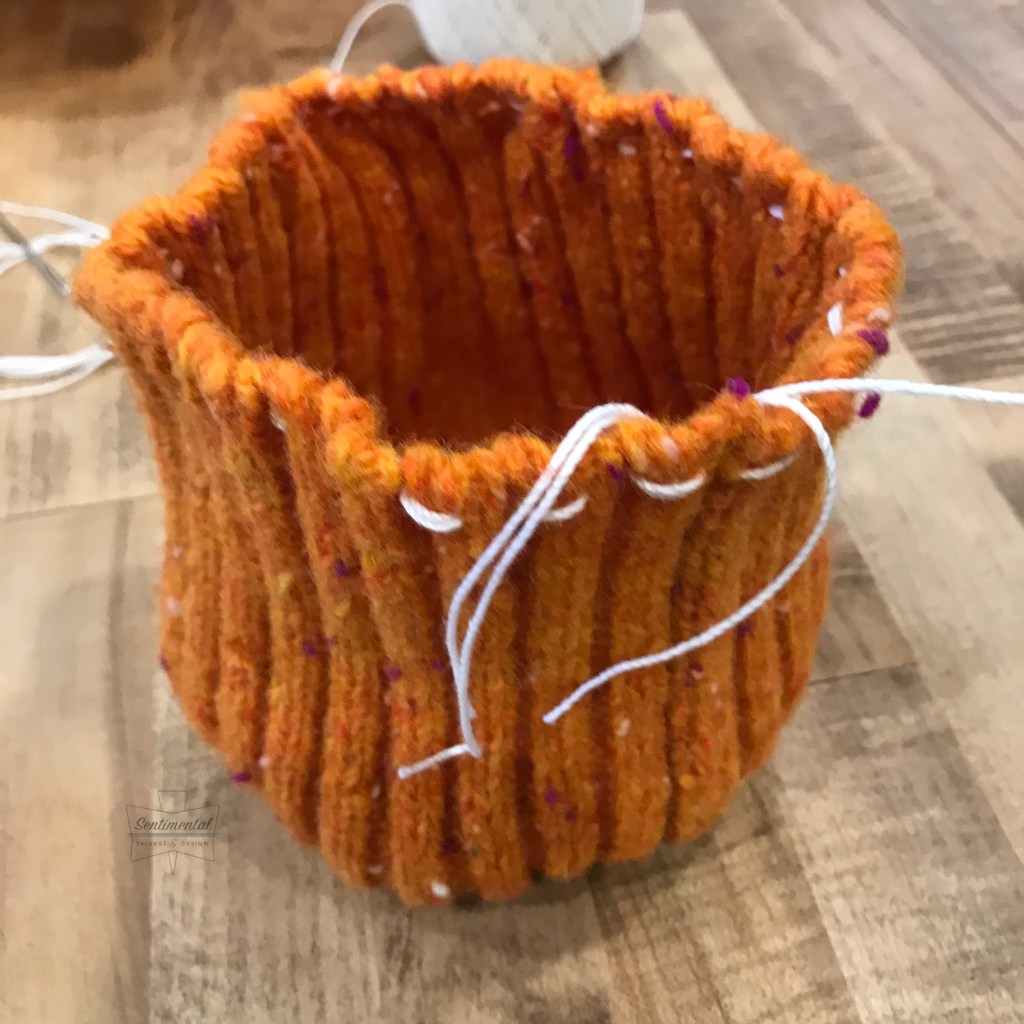
Scoop in some beans (I used Pinto beans – from Walmart – about $2.50 /bag). Depending on the size of your pumpkin, use +/- 1/3 cup of beans. Probably 1/2 cup or more on a larger pumpkin.
Feel & test for weight. The weight of the beans will keep your pumpkin sitting pretty so you’ll want enough to give it some weight but not too much.


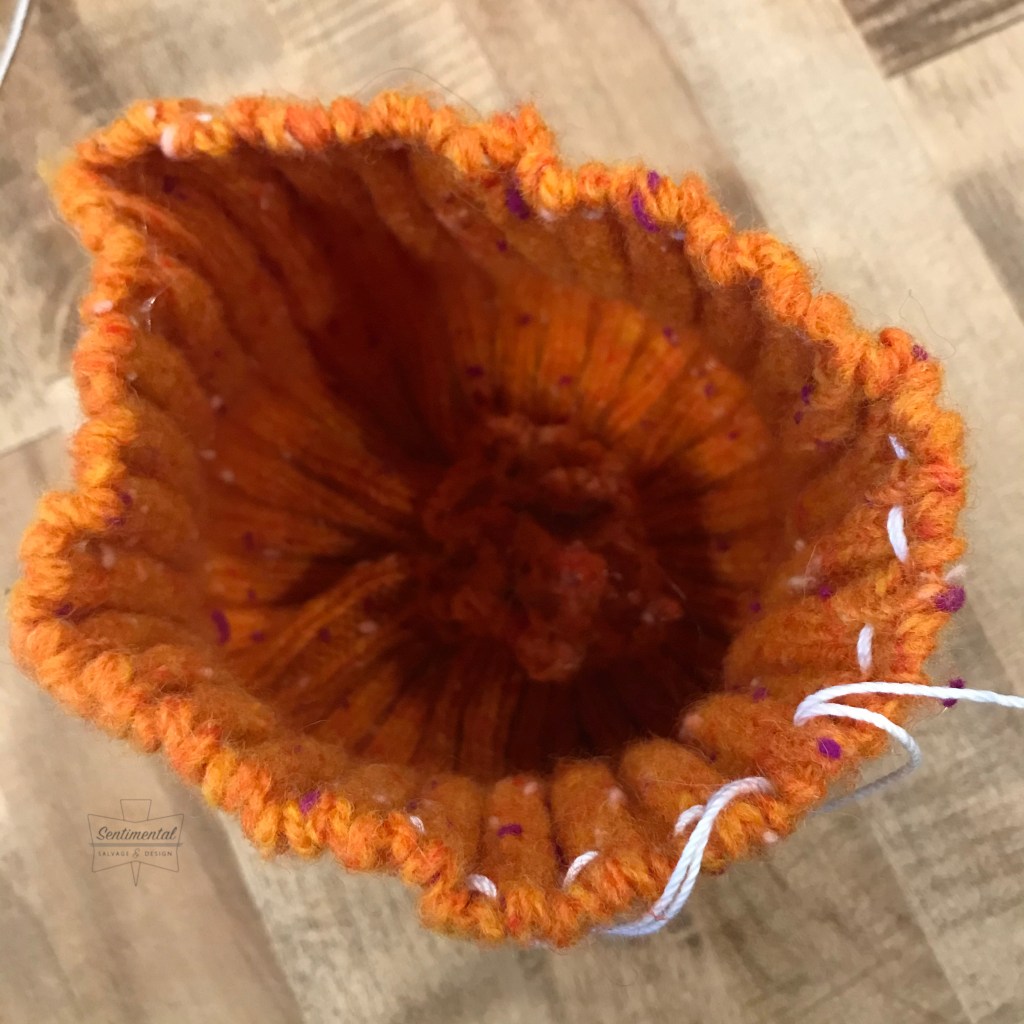
Next, grab enough stuffing to fill your pumpkin to a bit more than full. I buy the polyester stuffing from Walmart but you can use any kind.
You’ll want to over-stuff your pumpkin just a little (or a lot if you prefer) depending on the tightness of the knit of your sweater. You don’t want your stuffing peeking through your pumpkin skin.

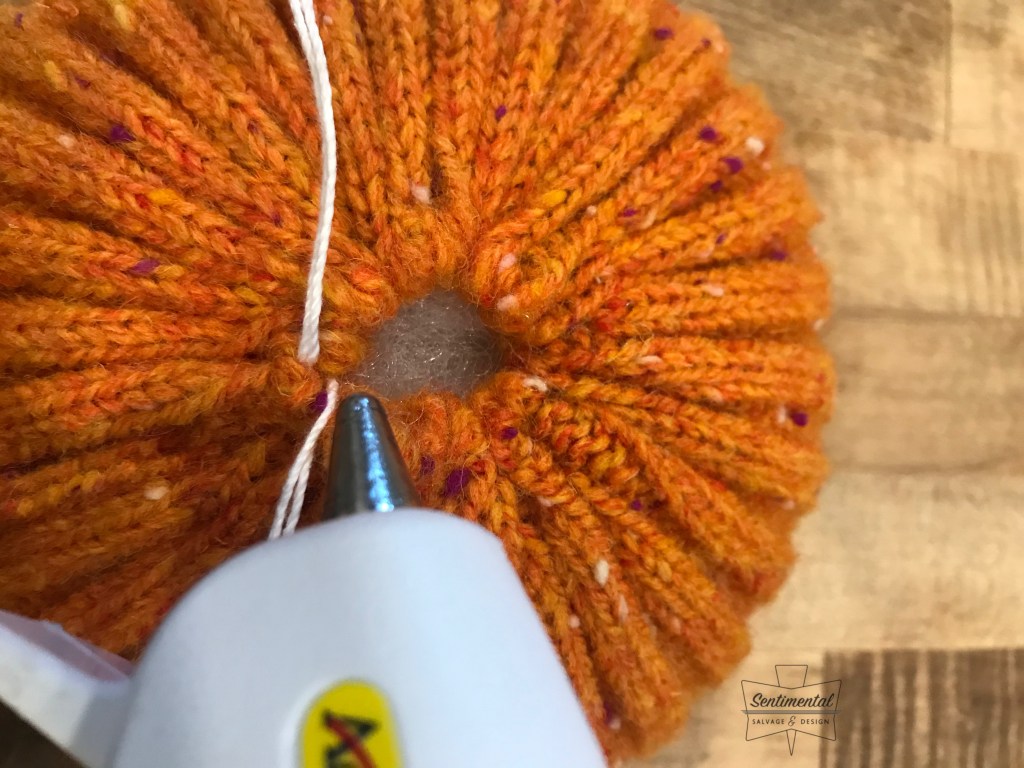
Stuff and pull your strings closed leaving about a 1/4 to 1/2” hole (for the stem). Tie knot securely and put a dab of glue to hold.
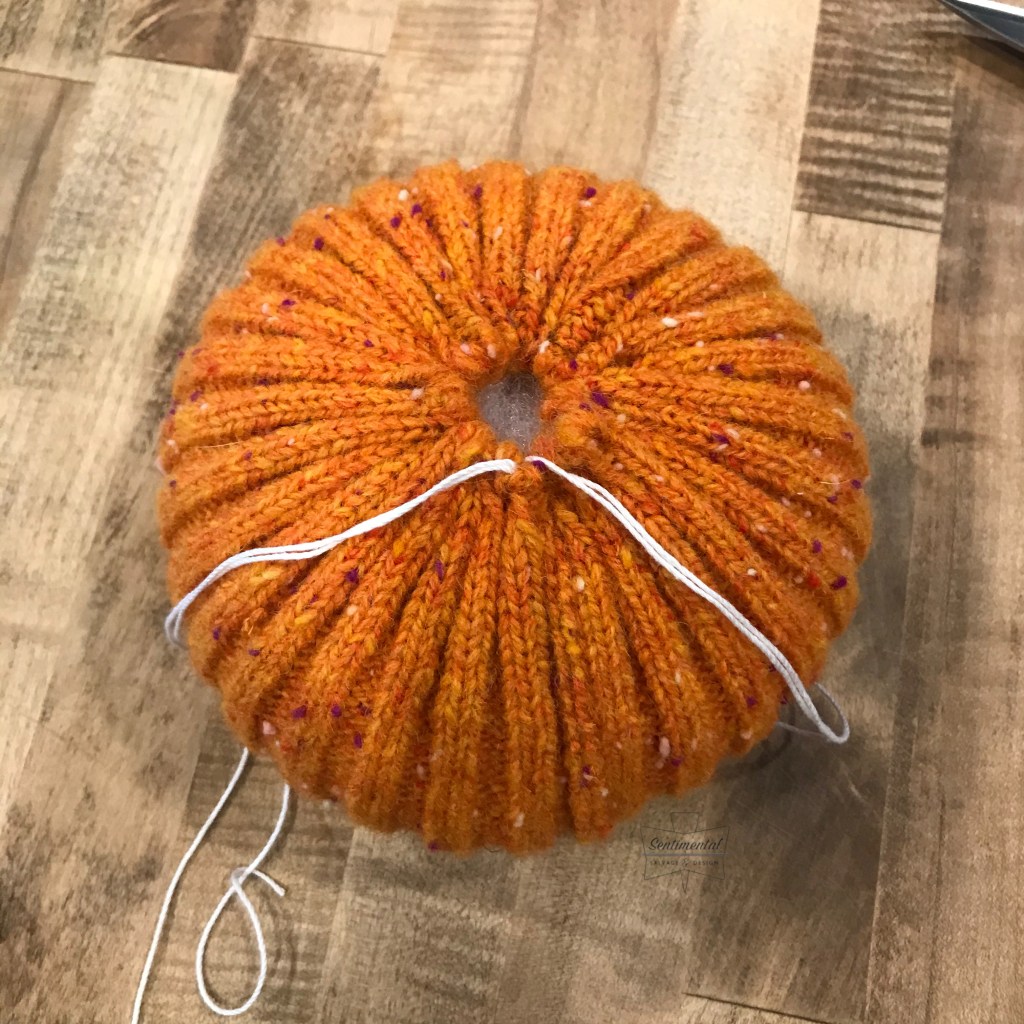
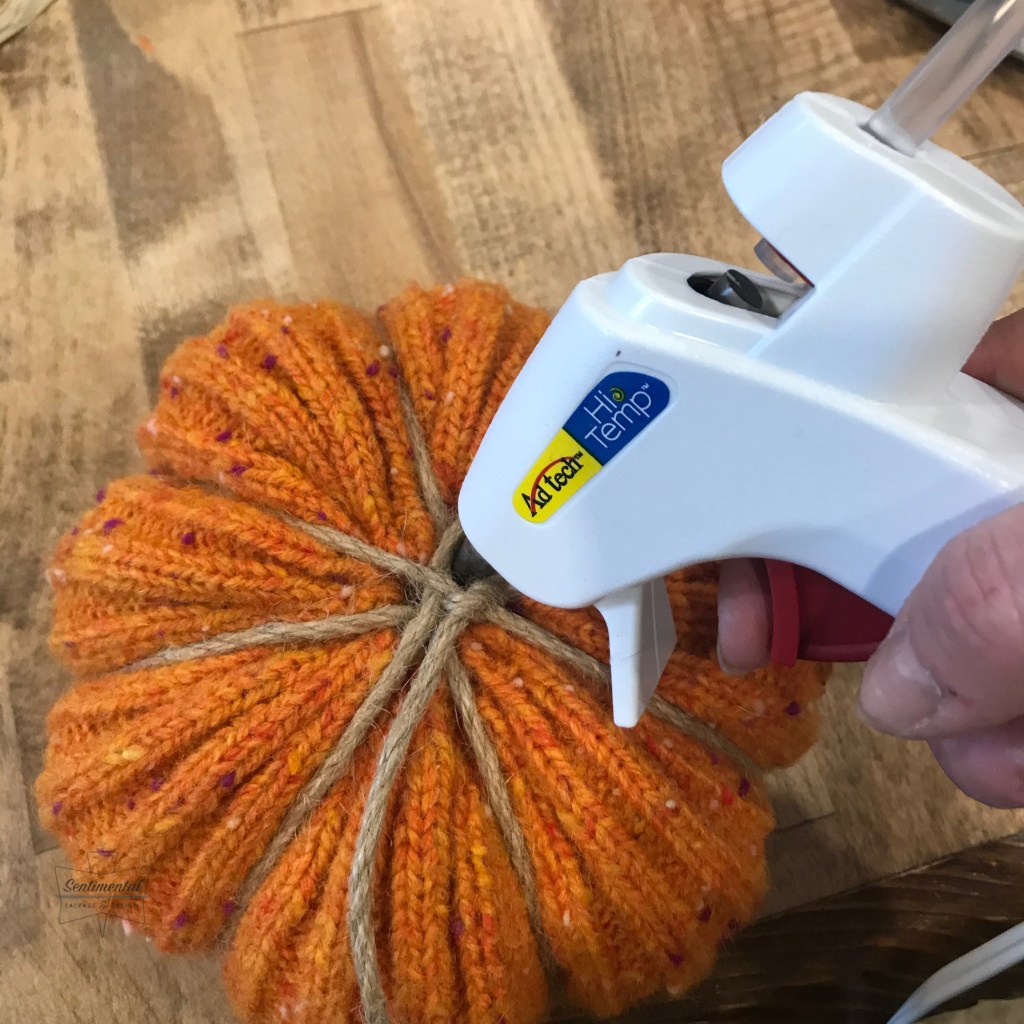
Next – to measure the amount of twine/ribbon/string needed to form the pumpkin’s grooves… simply wrap snuggly around the pumpkin 4 times then cut to length. It’s better to have too much than not enough so make sure you’re generous with the twine.
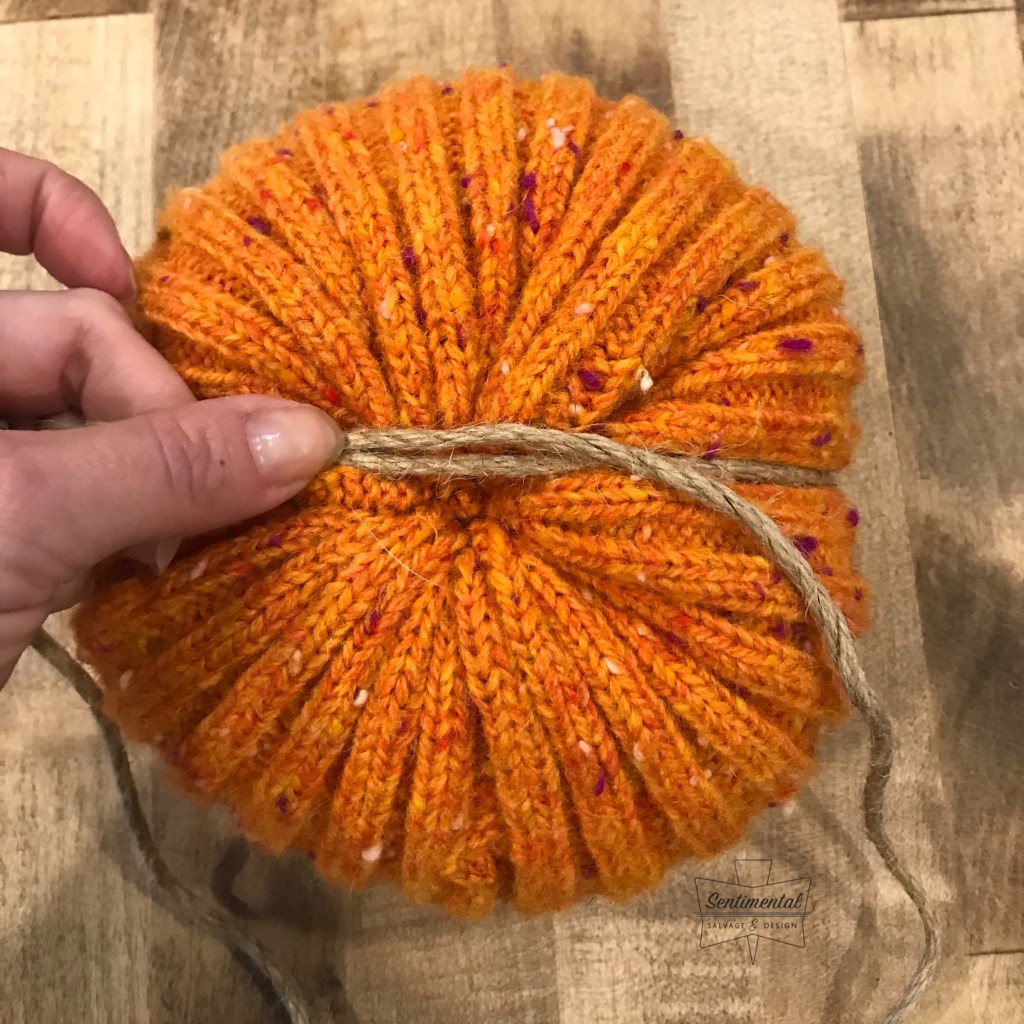
Fold your twine length in half to find the centre point and place the centre over the TOP hole in your pumpkin.

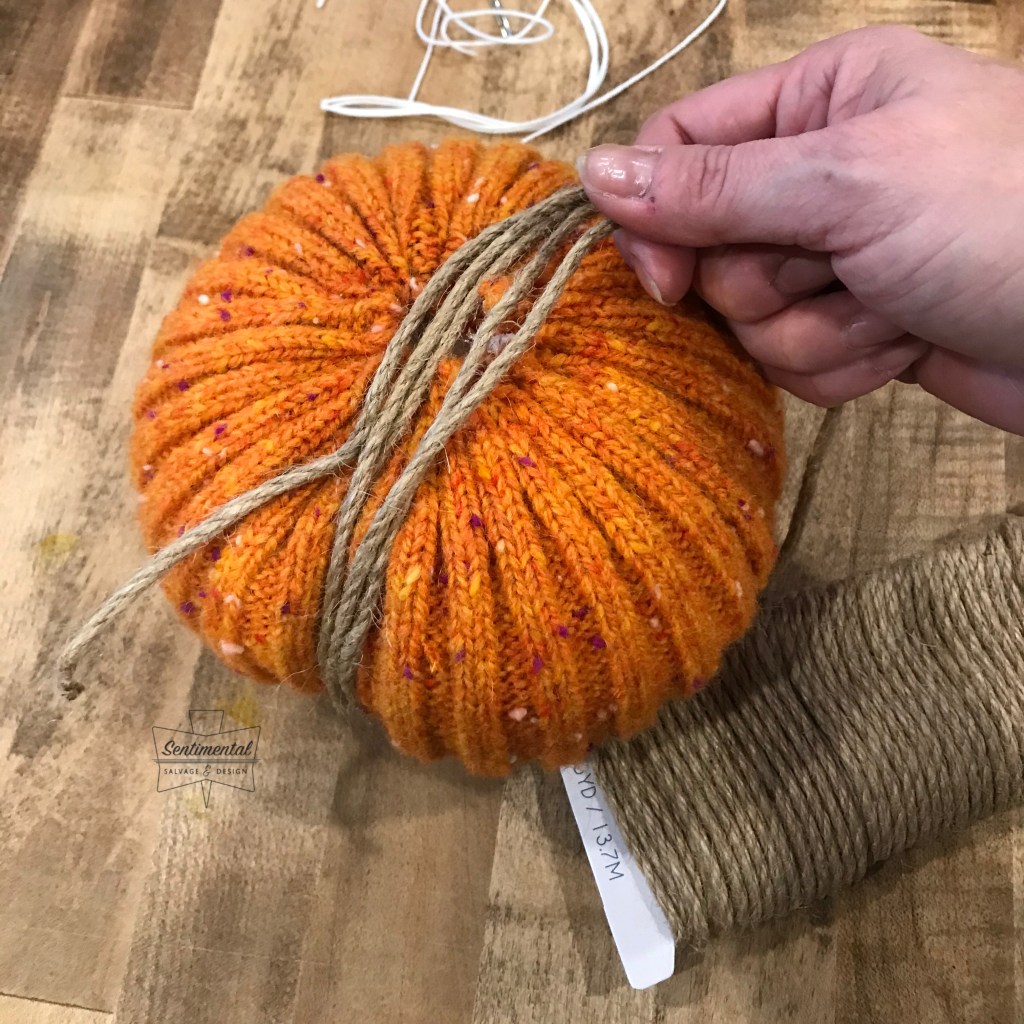
Wrap around the pumpkin as you flip it over (like you would when you’re putting ribbon on a package).
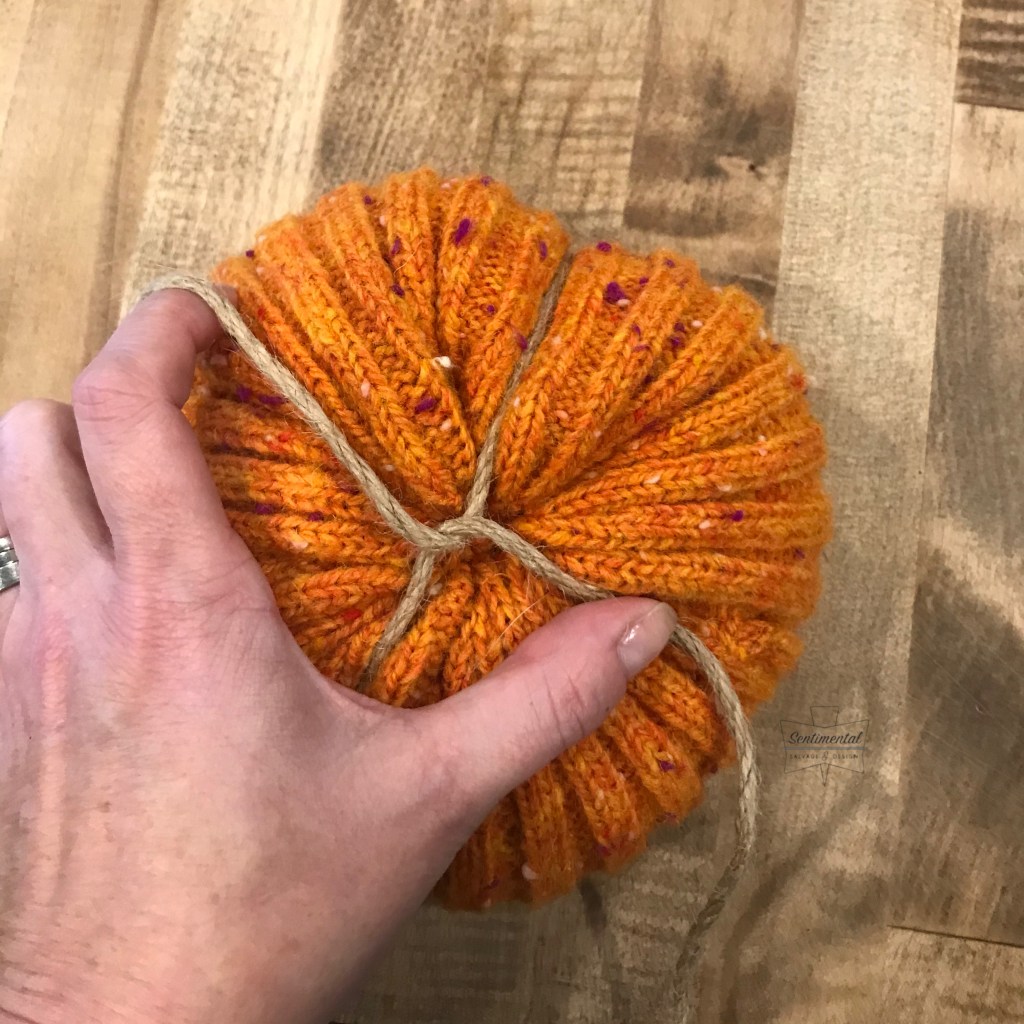
Cross the twine, turning pumpkin a 1/4 turn and repeat flipping over to the top again.
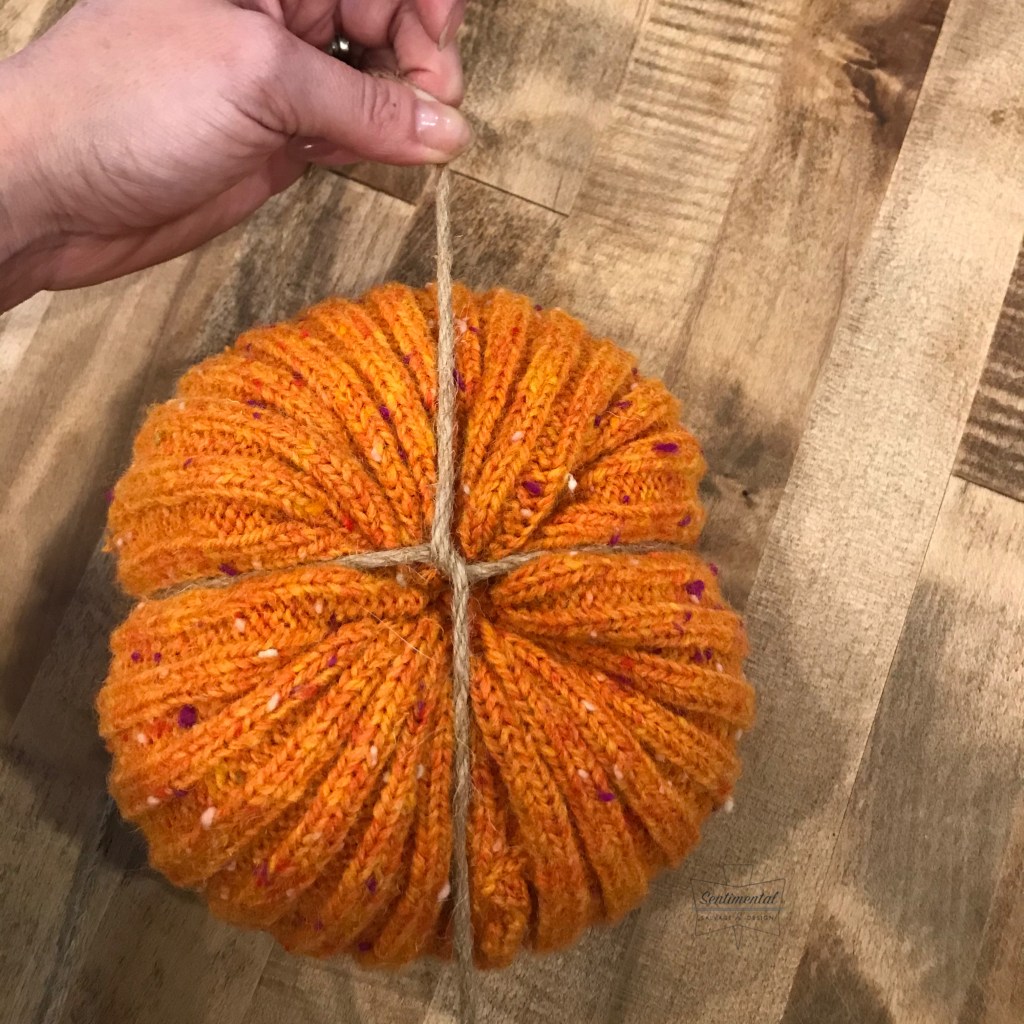
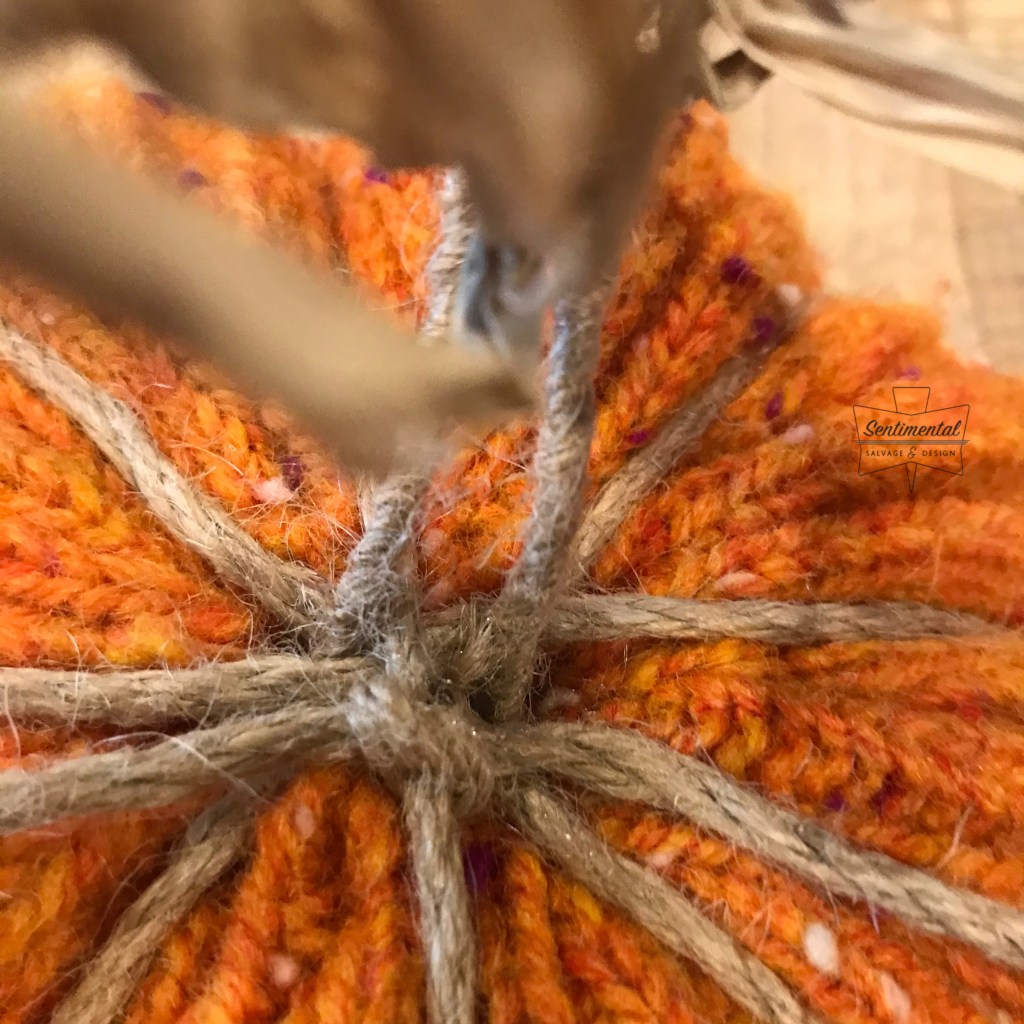
Do this 4 times and until you end up finishing on the top of your pumpkin. Be sure to pull each wrap tightly to achieve the desired groove depth giving your pumpkin a ‘pumpkin-y look’.
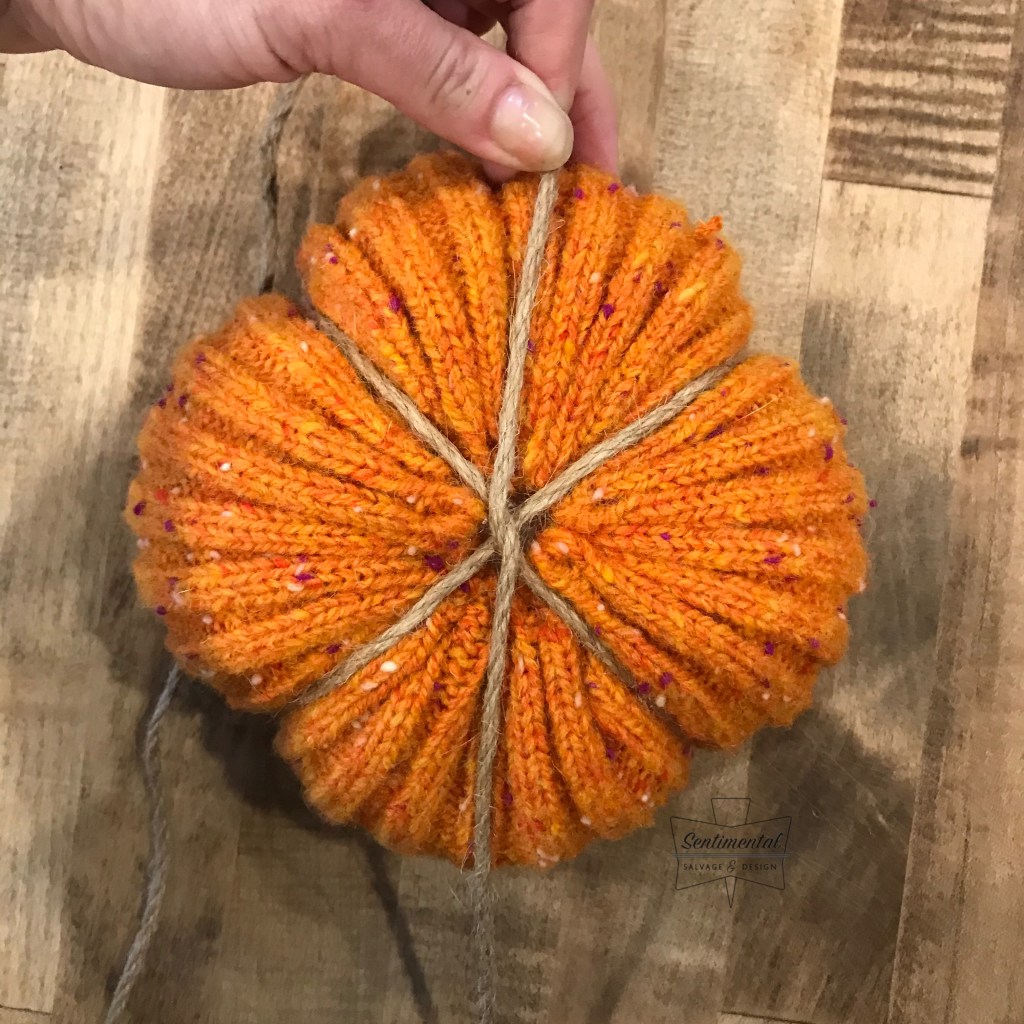

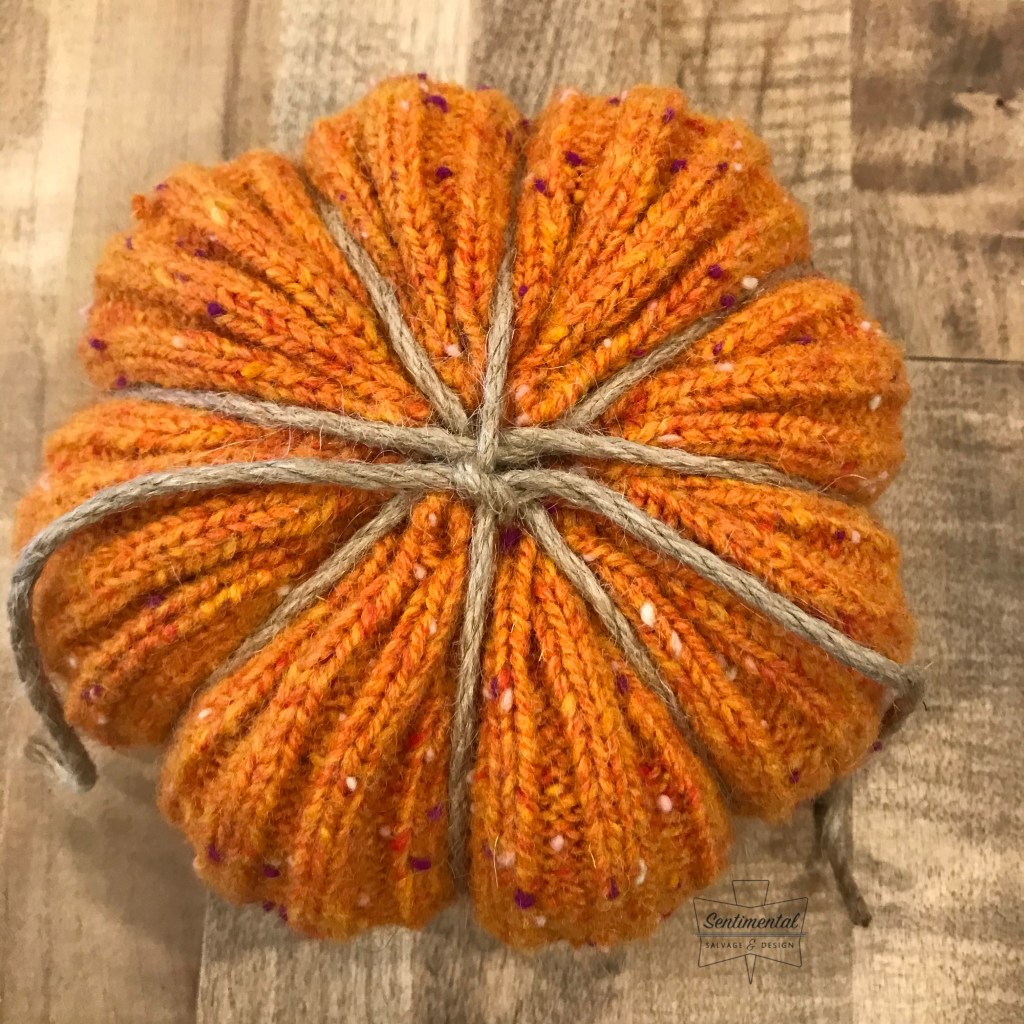
Top
Tie a secure knot and again, dab with hot glue if you like.
Smoosh and form your pumpkin to the desired shape and make sure your twine groves are placed neatly and where you’d like them.
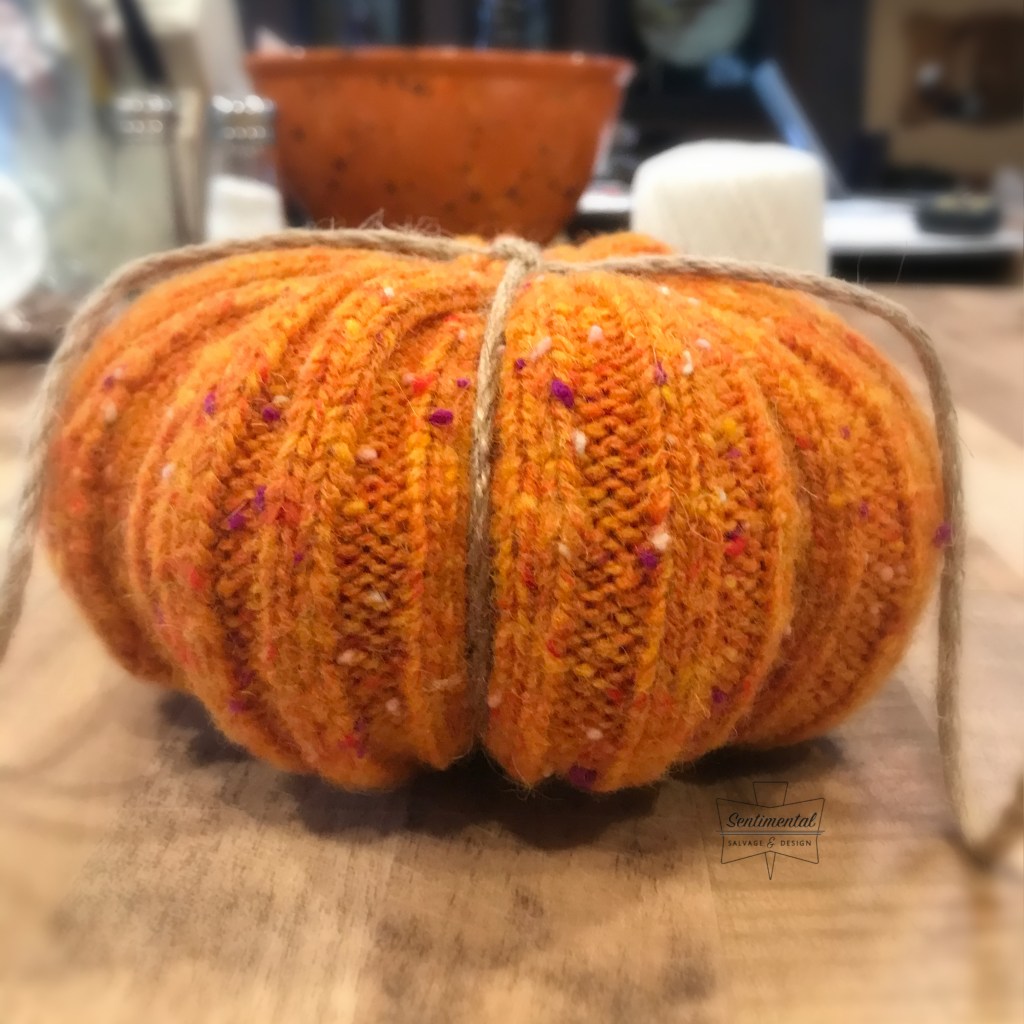
Side view. 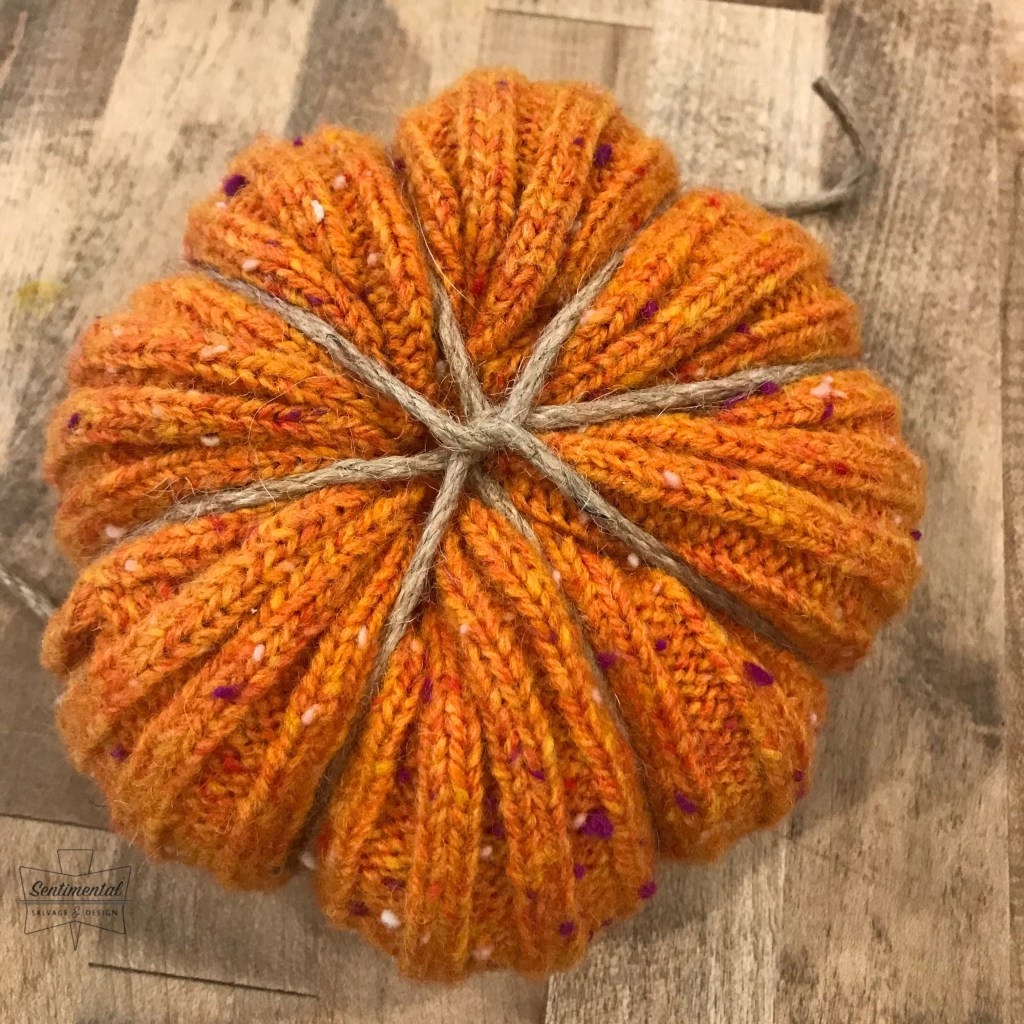
Bottom view.
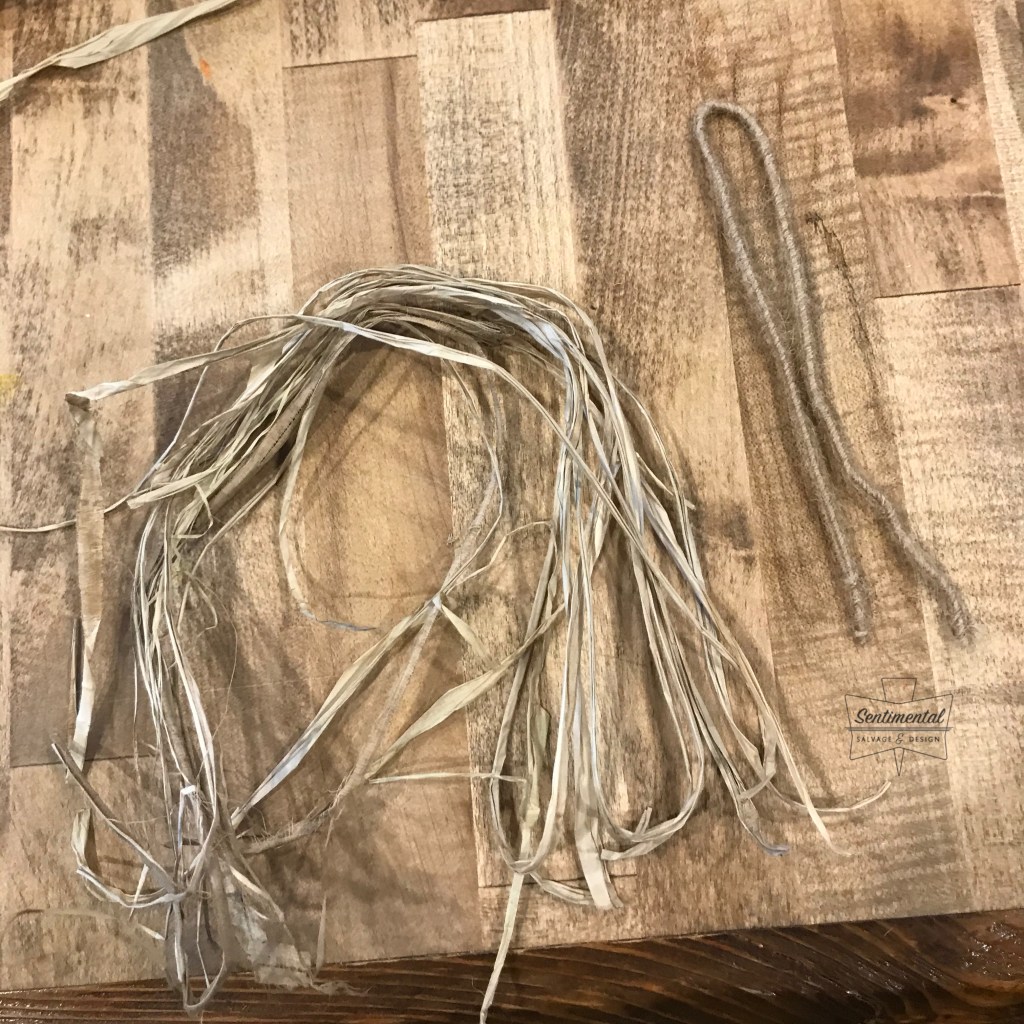
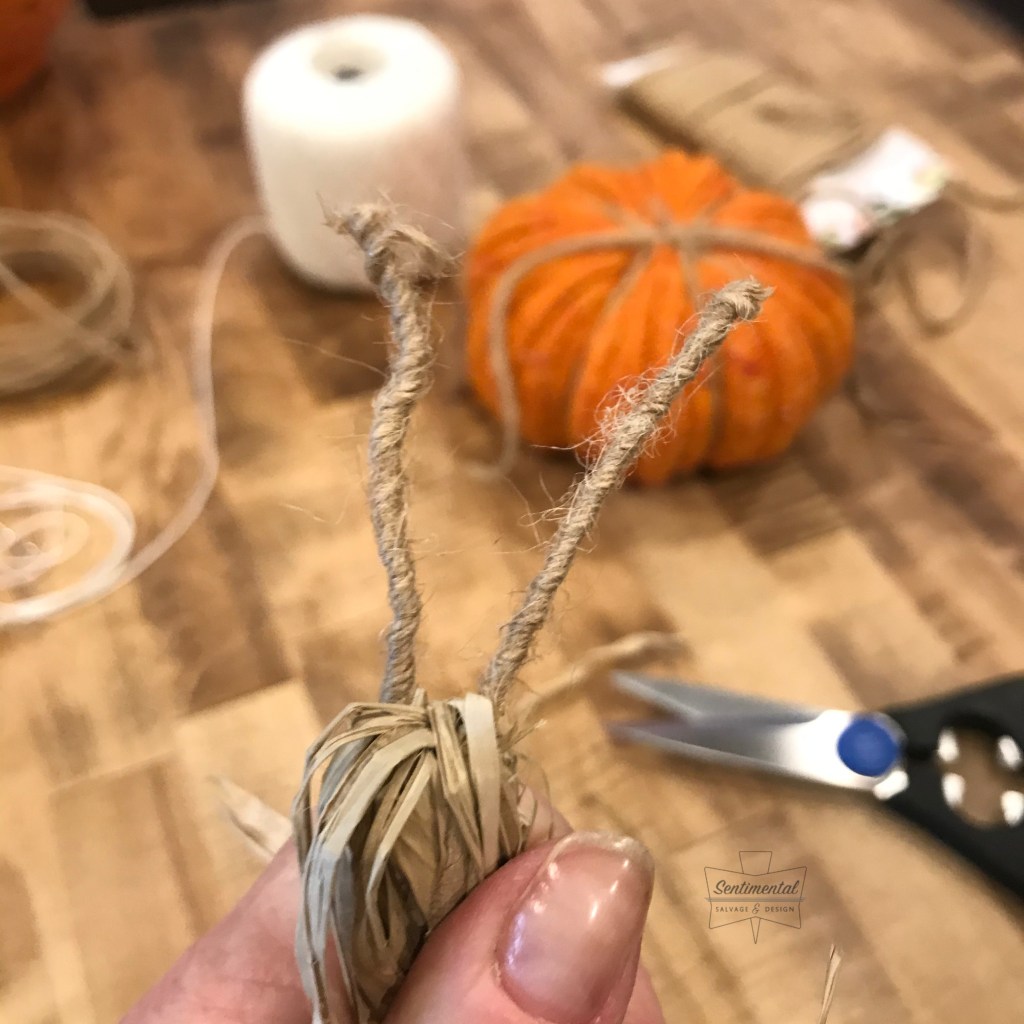
Now you need a stem. The supplies needed to create a raffia stem were all purchased from the dollar store (except for my side cutters). Raffia & some wired jute twine.
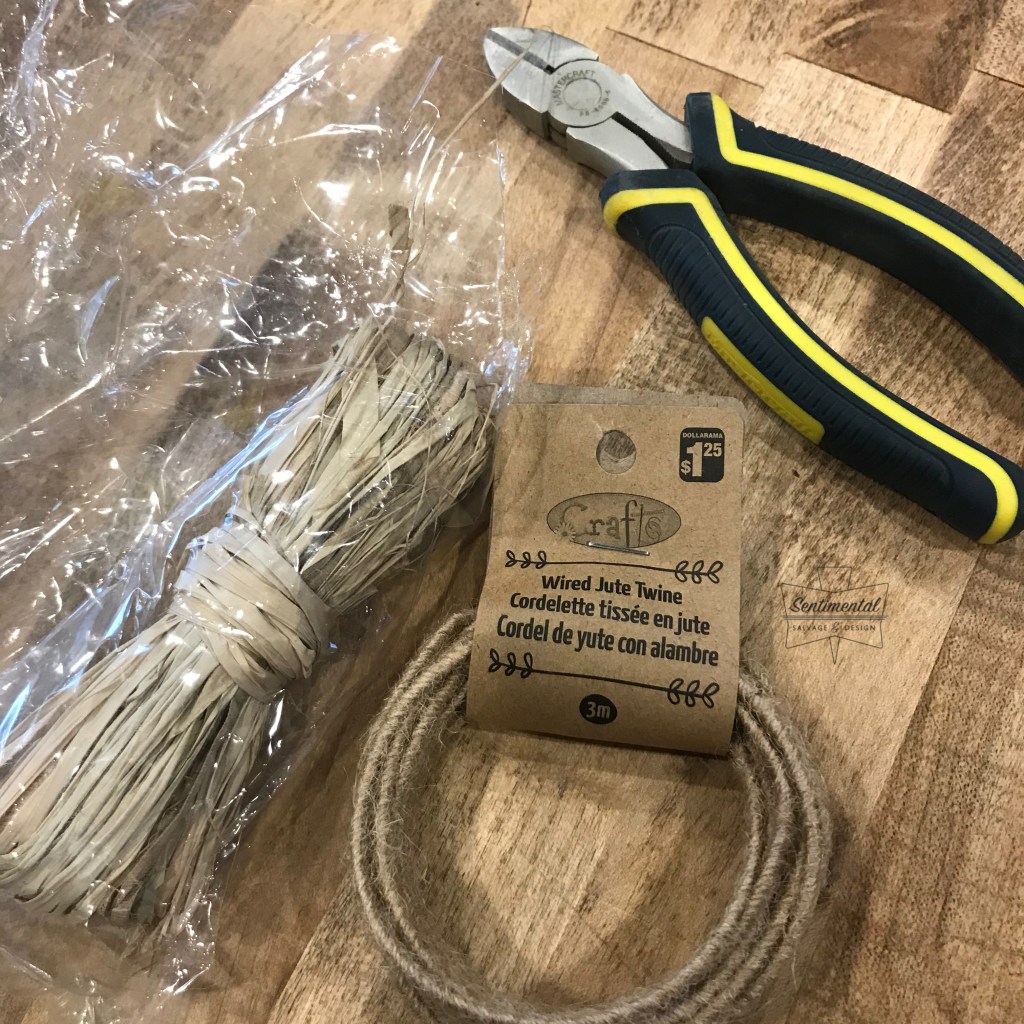
Cut off a chunk of raffia in desired stem length. Do the same for the jute wire (doubled). There’s no perfect measurement here… just kind of eyeball it.
Fold the raffia in half…
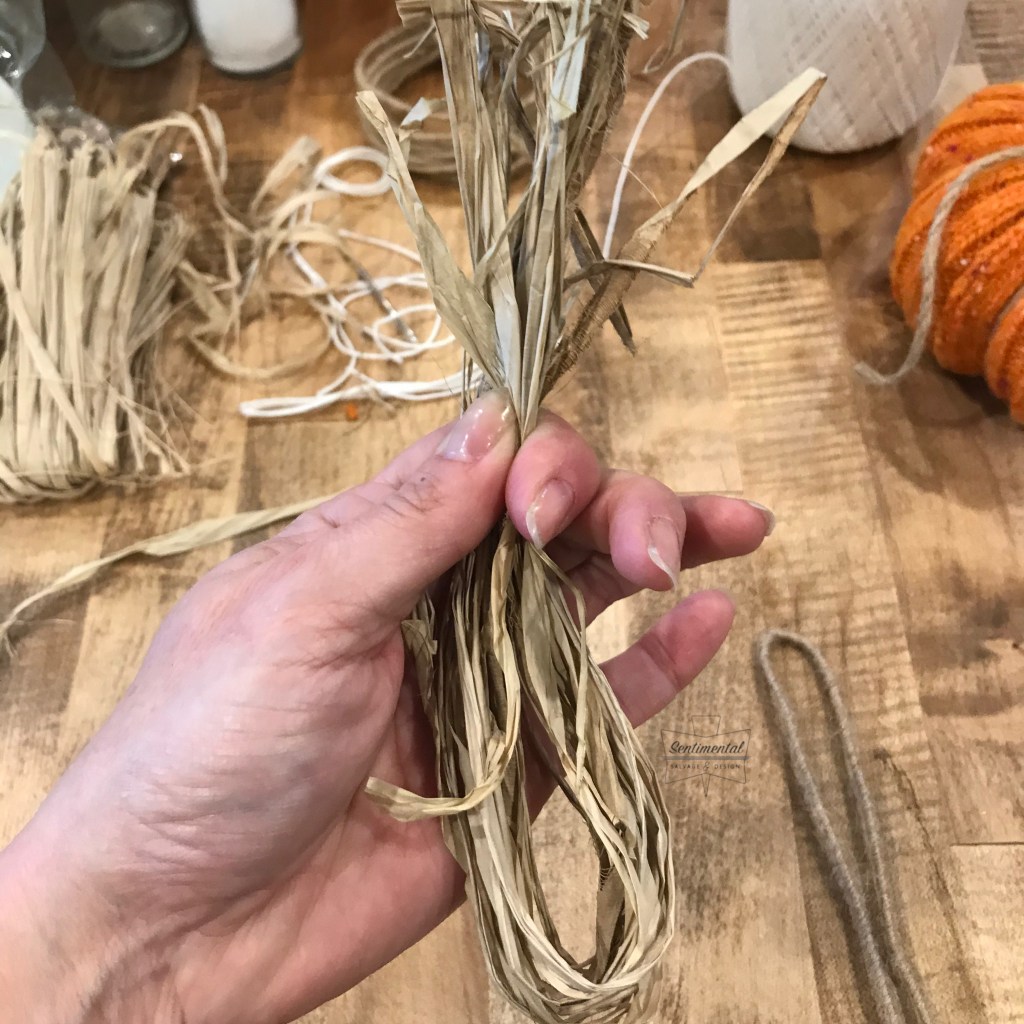
Place the folded end of the jute wire over the raffia bundle about 1.5 – 2” from end. Then criss-cross wrap the jute wire along length of raffia creating the stem.
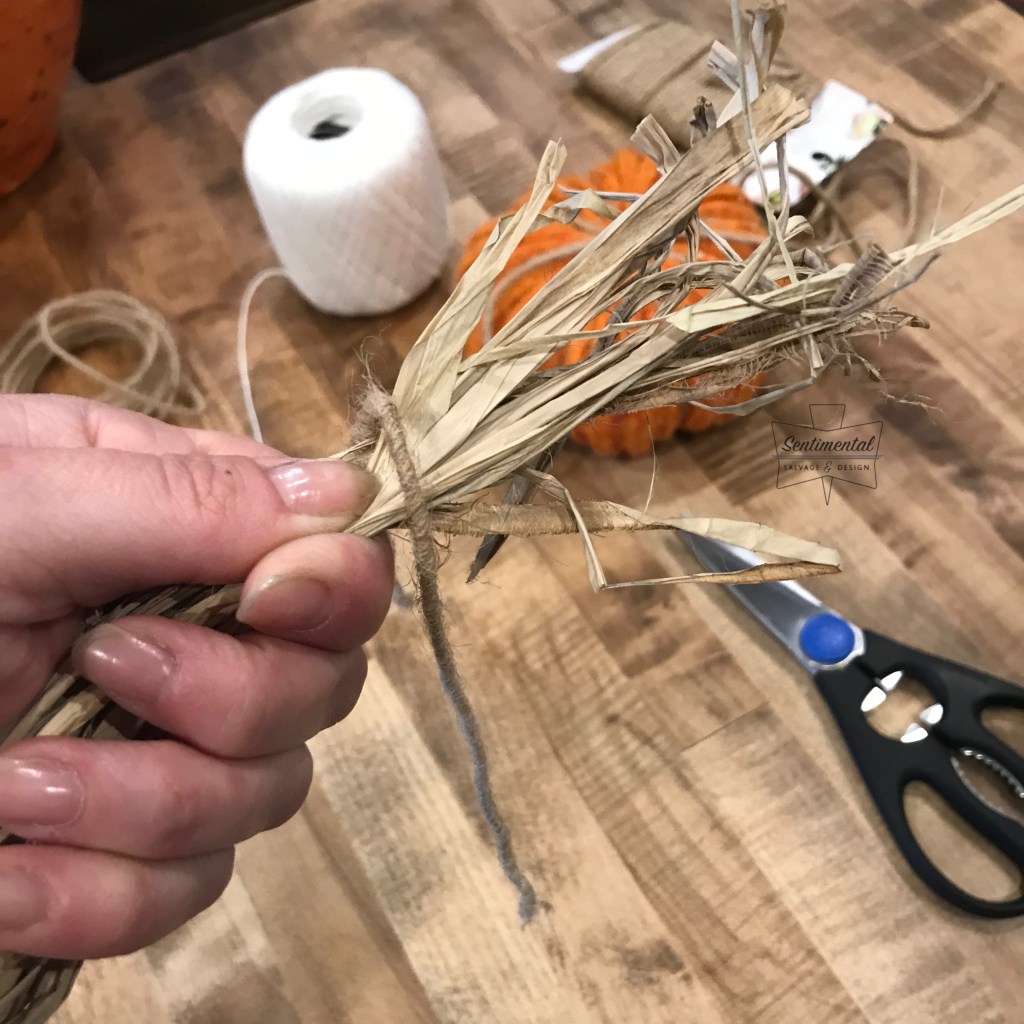
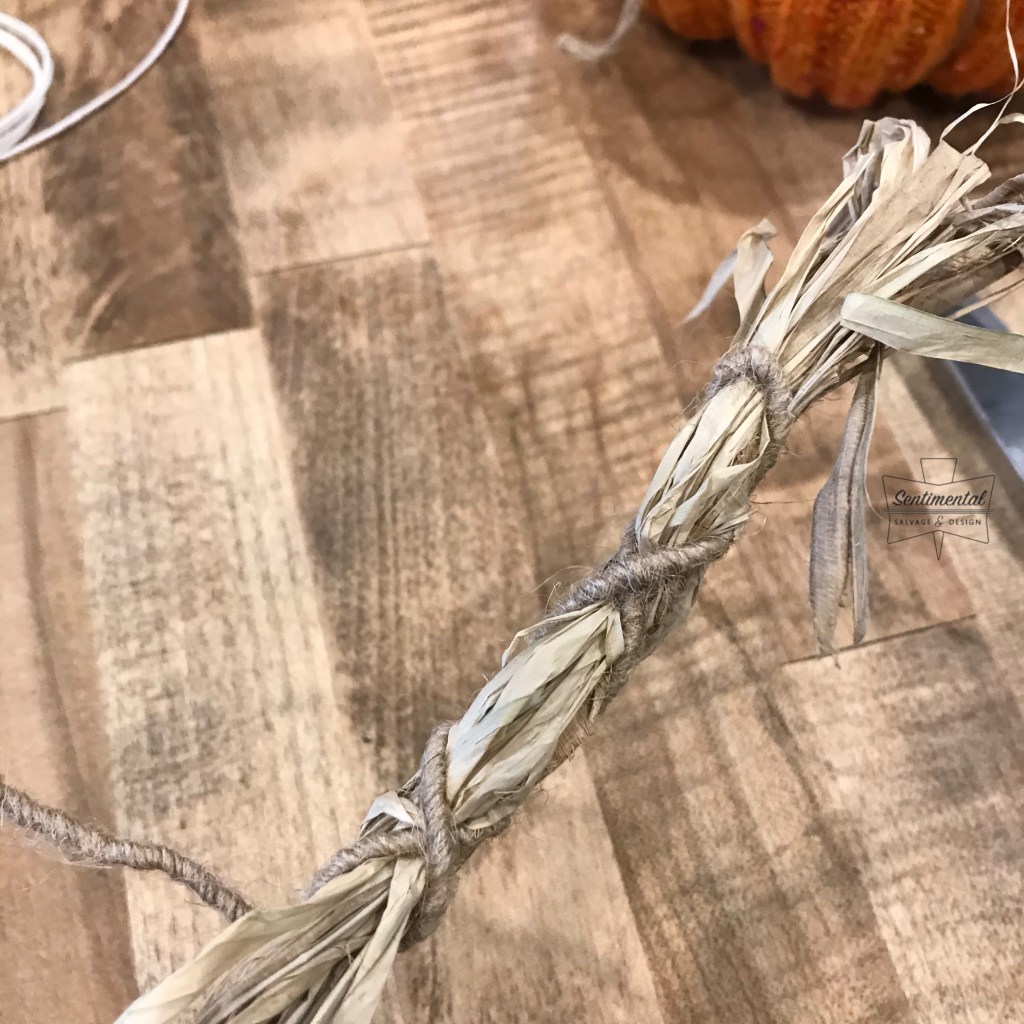
Pull raffia away from free wire ends but DO NOT twist wire to secure. That will make your stem sit up too high from your pumpkin.
Squirt a lot of glue (4 – 6 pumps or more depending on the size of your pumpkin) into stem hole.
Then, insert (you may have to really shove them in there because you want it to work it’s way into the now gluey stuffing) the free wire ends into hole. One on either side of twine criss-cross.
Smoosh it down really well. If your free ends are too long, don’t worry, they’ll bend. If you know they will be WAY too long before you place them in the pumpkin, just fold them over a bit. The extra loop will help secure the stem inside the pumpkin in the glue.
Hold the stem down in the pumpkin for a bit as the glue cools.
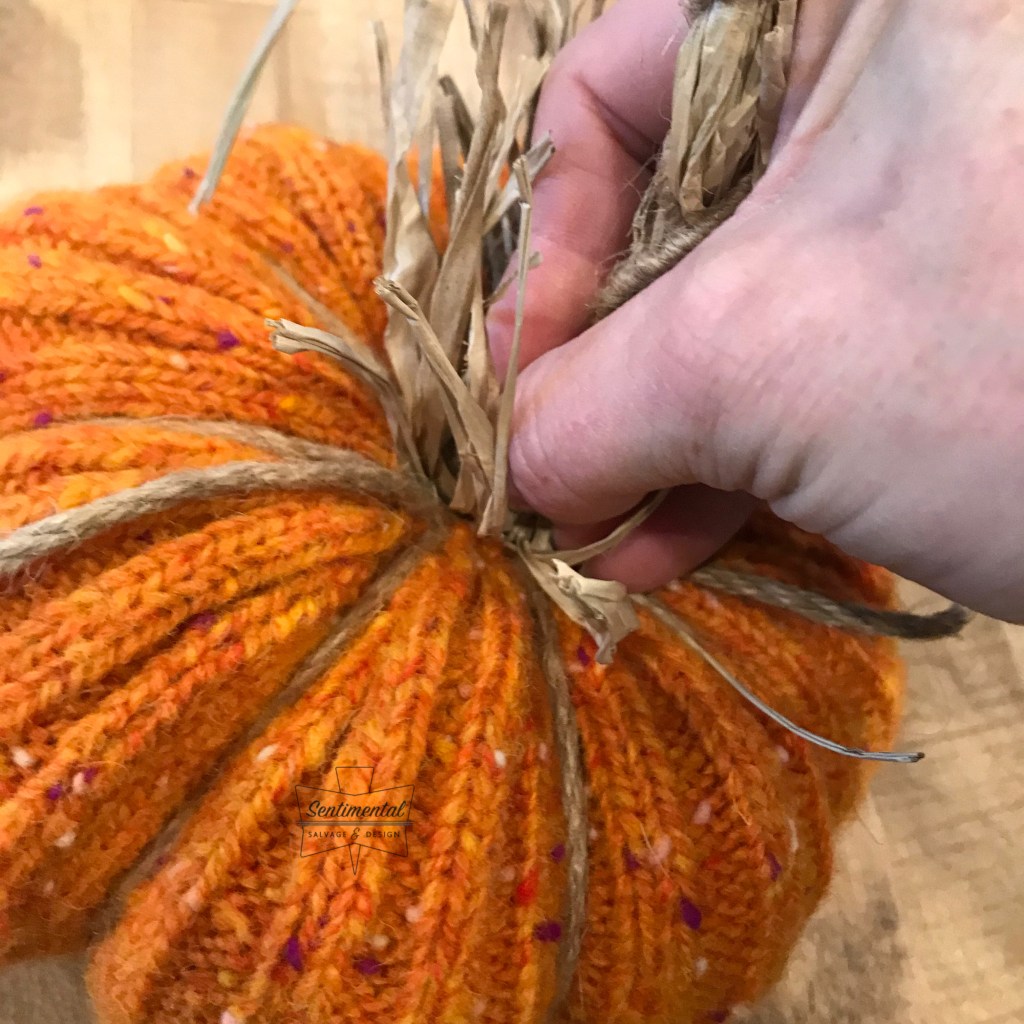
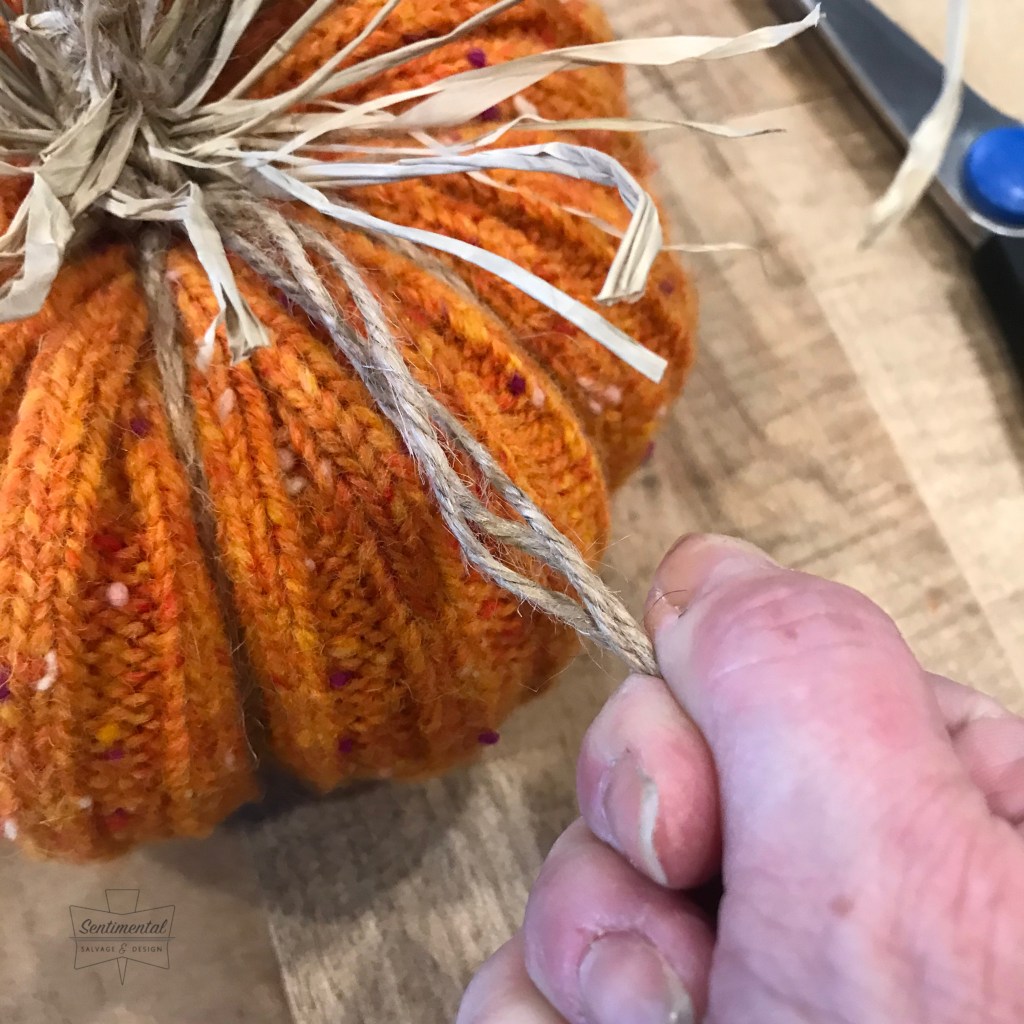
The loose ends of the raffia will lay across the top of your pumpkin, hiding the twine knot and giving that little bit of charm. Trim them to whatever length you’d like. Now you can finish off the top of your pumpkin. In this case, the twine I used to create the grooves was three ply. So I trimmed the leftover ends to a better length, then separated it to add a little more decoration to the pumpkin top.
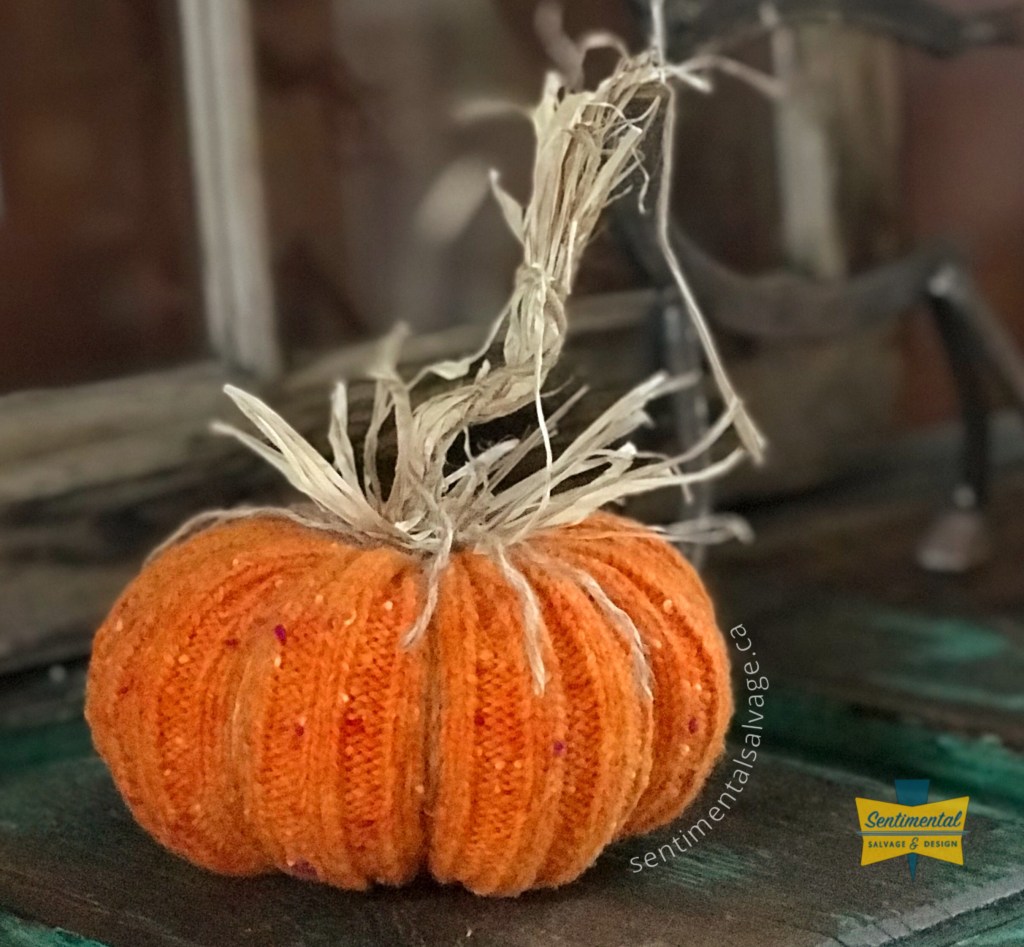
ALL DONE! Isn’t it cute?! Using the wired jute gives you the option of bending the stem to give it some shape and character.

You can create an adorable set of three pumpkins out of one full length sweater sleeve. Experiment with different textures and colours and the options for stems are endless!

I’d love to see your creations so feel free to email me photos!
Have some fun!

