Crafting on textured surfaces can be daunting, especially when incorporating Paint Inlays into your projects. However, with the right techniques and a bit of patience, you can achieve stunning, professional-looking results. In this blog post, I’ll walk you through the process of using Paint Inlays on a very textured sign, providing tips and tricks to help you get the most out of your materials.

Materials Needed:
- Textured sign or surface
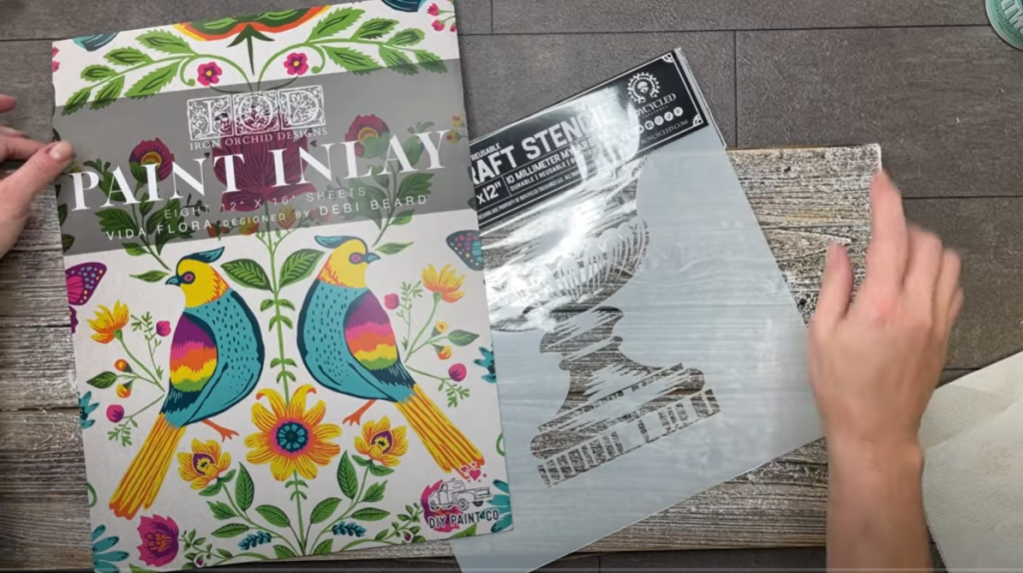
- Stencils (I used the Roycycled Urn stencil)
- Paint Inlays (IOD’s Vida Flora Paint Inlay was my choice)
- Fusion Mineral Paint
- DIY Paint & Clear patina
- DIY Paint’s Waxes: Dark, White, & Golden Rule Gilding Wax.
- Miscellaneous: masking tape, heat tool, Salt Wash.

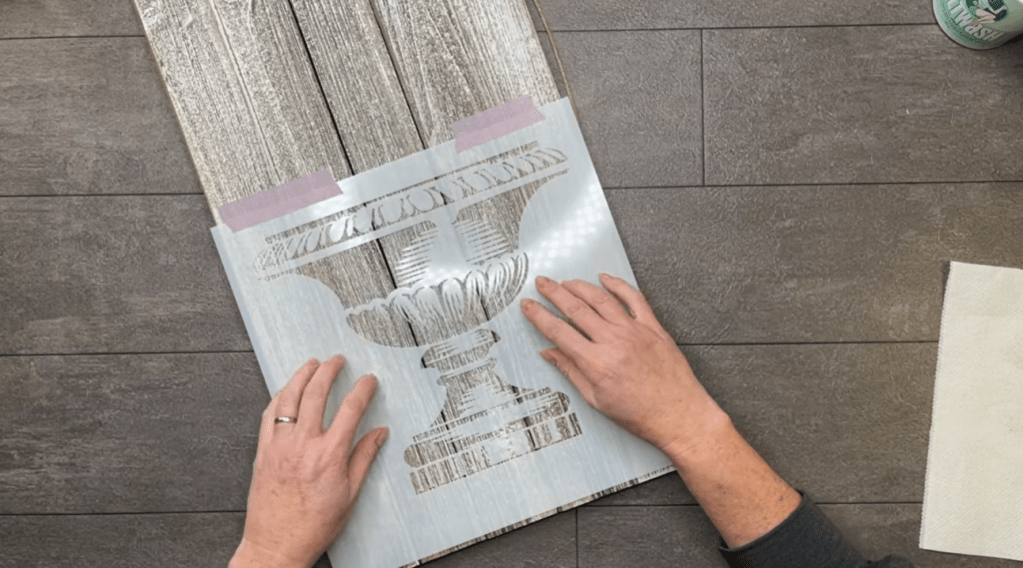
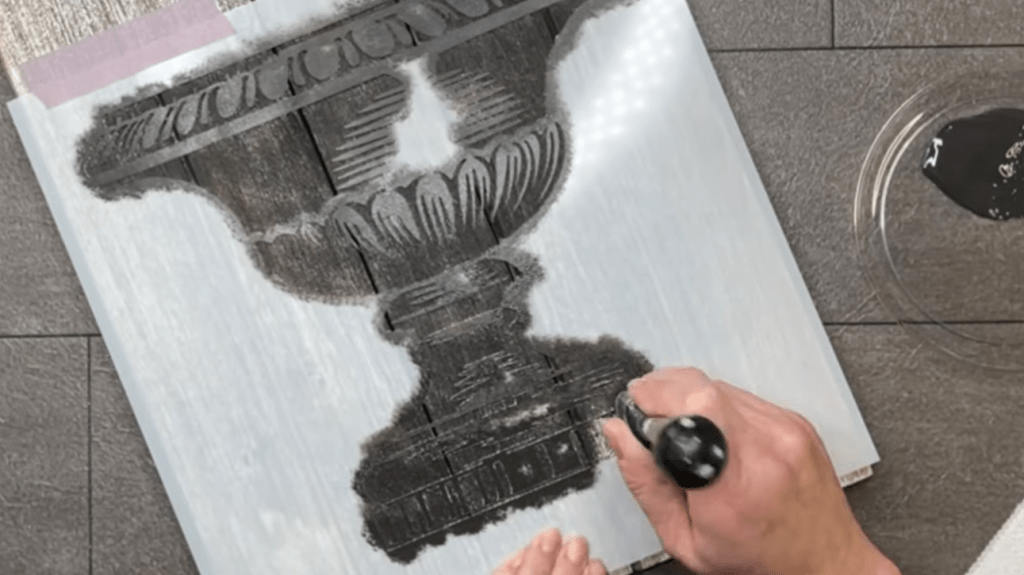
Start by preparing your textured sign. I thrifted this one so when that’s your source, make sure it’s clean and free of any dust or debris. I wanted to use the Roycycled Urn Stencil to provide a visual vessel for the beautiful florals of the Vida Flora Paint Inlay by IOD. It’s important to tape your stencil down securely to avoid movement during the application. A wiggly stencil creates a blurry image.

Apply a dark brown paint as the base color. Over this, you can layer gray and some lighter colors to create depth. I mixed Chocolate, Casement, and a bit of Coal Black – all by Fusion Mineral Paint – for a rich, complex base.
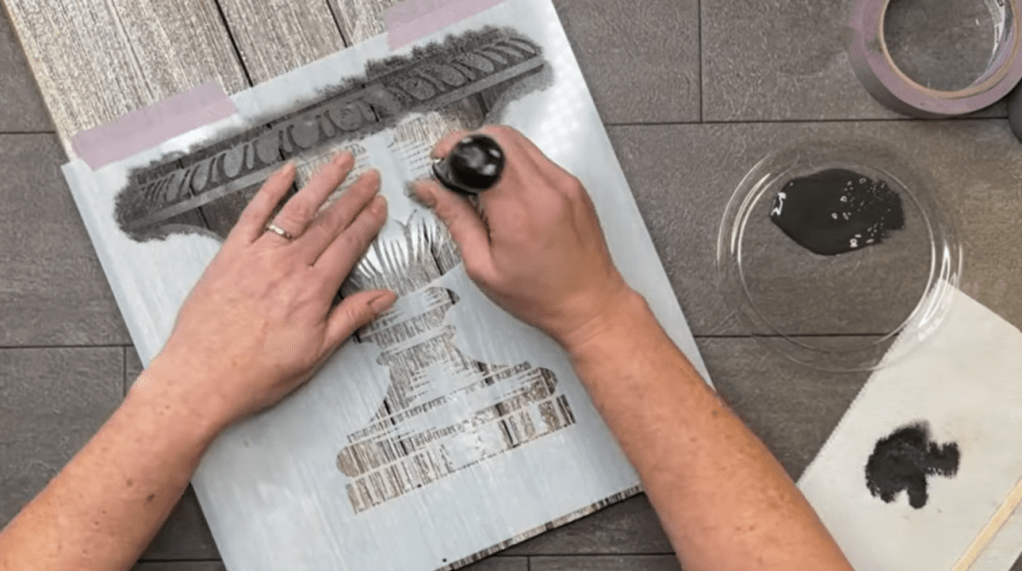

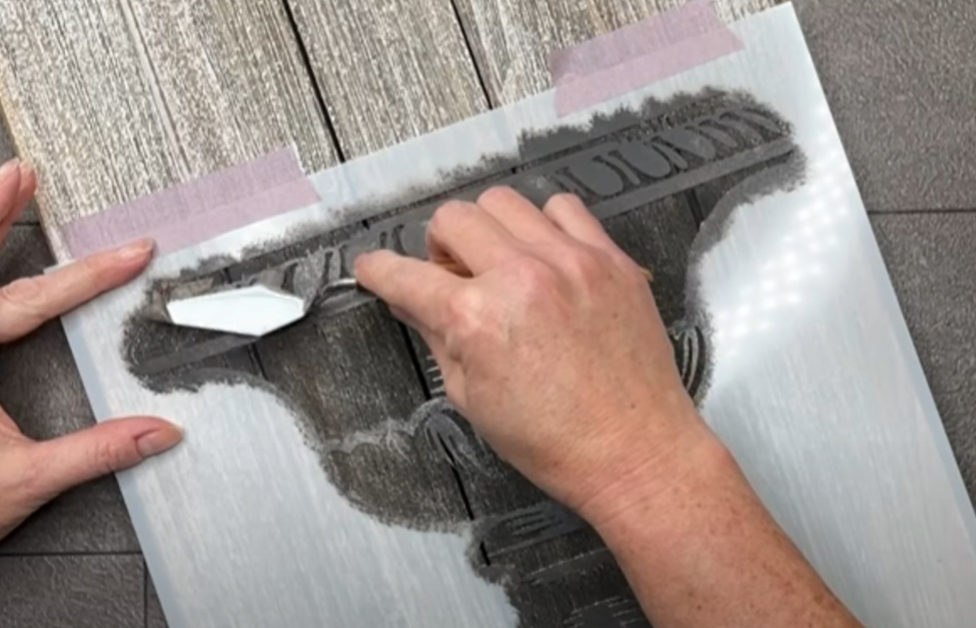
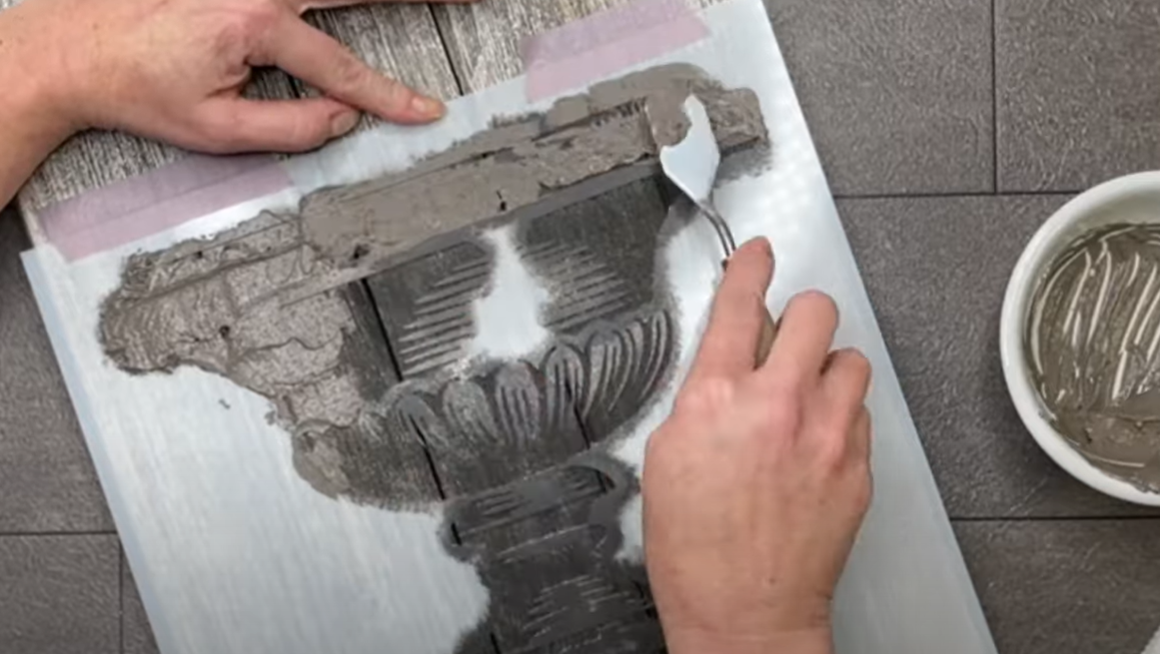
Once your base is dry, you can introduce more texture by mixing your chosen paint color with Salt Wash. Then using a spatula to apply directly onto the stencil, this technique creates a raised effect, creating both visual and physical texture/interest.


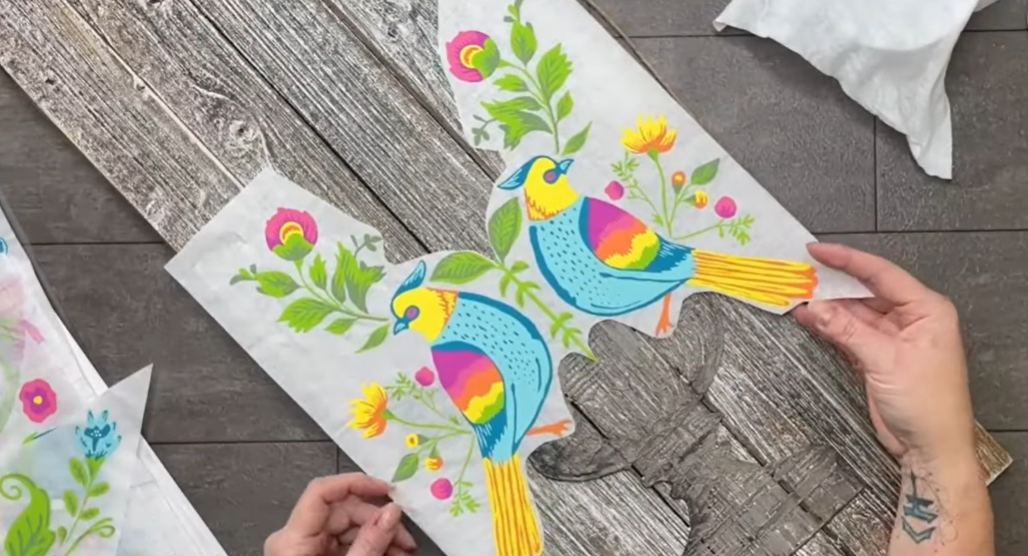
Making sure your raised stencil is completely dry, you’re now ready to apply your Paint Inlay. I chose to use DIY Paint’s Clear Patina as the setting medium. Apply a generous layer of clear patina over your textured project before pressing the inlay down. This is important and you may need to practice a bit to get the right consistency. Too little and your Paint Inlay won’t have enough to ‘set into’, causing missed spots. Too much and you’ll experience excessive wrinkles and creases caused by the backing paper during the drying process.
Another trick I’ve learned while using Paint Inlays is that a little mist of water on the backing paper, before you set your Paint Inlay into the setting medium (whether that’s paint or something like Clear Patina) allows the backing paper to stretch and settle down smoothly onto your project. This helps to minimize wrinkles in the backing paper during setting which will be visible as texture in your paint once the backing paper is removed. This technique is more valuable when applying a Paint Inlay to a smooth surface but it did work well on my textured surface also, allowing better coverage in all the peaks & valleys.
TIP – Use Clear Patina for Versatility: While paint inlays are typically used with chalk-style paint, consider using clear patina as an alternative medium for applying inlays. Clear patina preserves existing textures and colors, providing a versatile option for various surfaces.
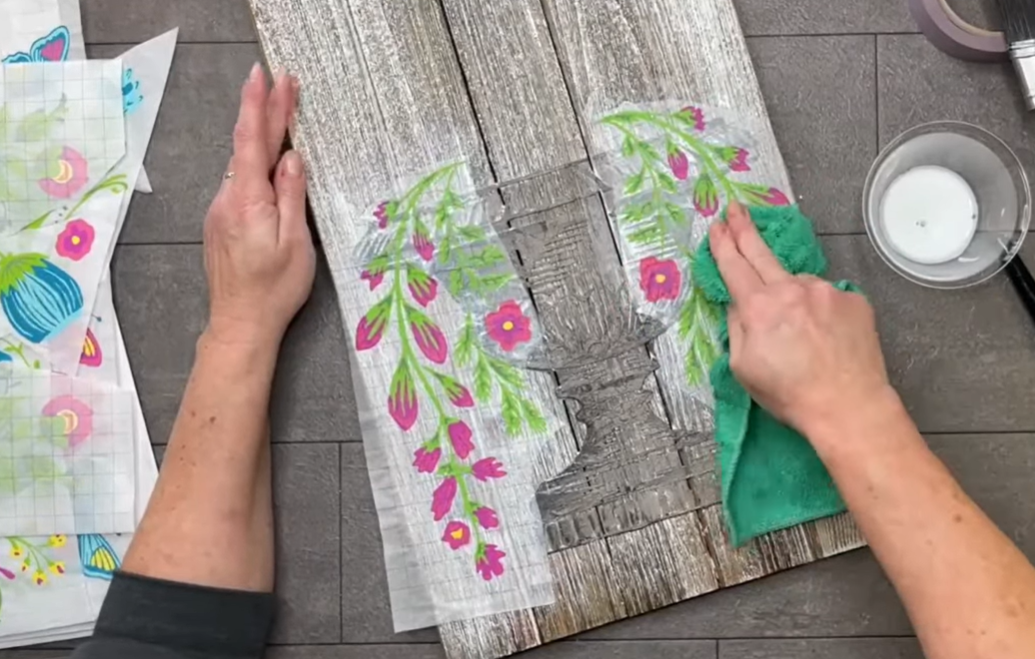
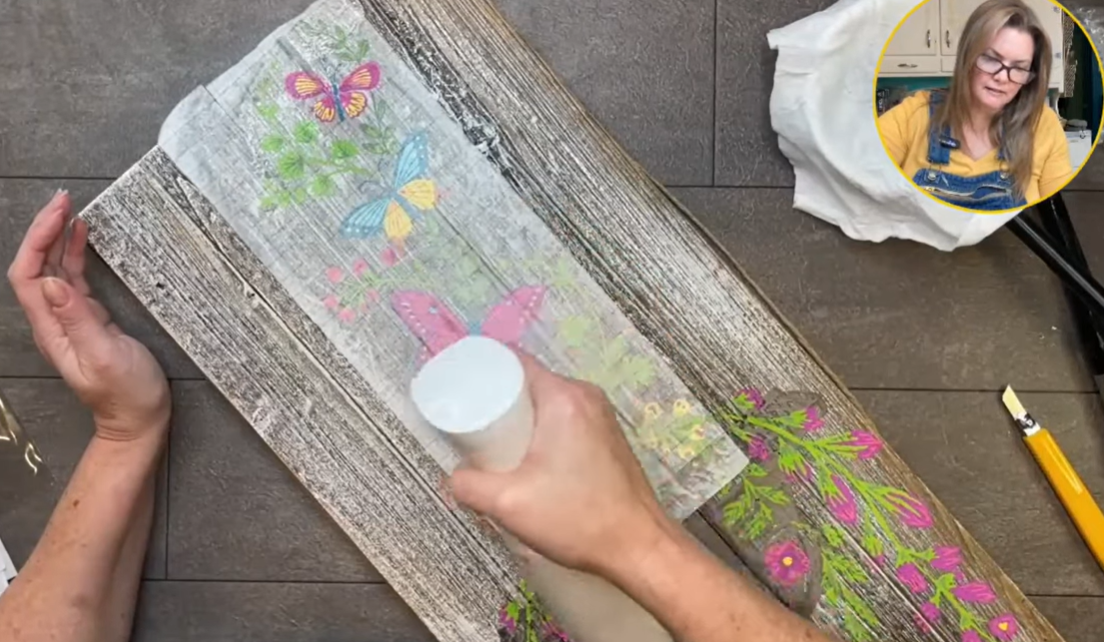

Once the inlay is positioned, you’ll mist the backing paper with water. This will help the paint release from the paper and allow it to set into your medium. It’s helpful to use a wet (not dripping) cloth to help push it down. Don’t rub as you may tear your paper. I discovered with this heavily textured base that using a soft bristled brush to gently push the wet and slightly stretchy paper into the texture helped me to get a really good application.

Allow adequate drying time, preferably overnight, to ensure that everything sets correctly. When applying Paint Inlays in layers like I did with this project, this is VERY important. Your project may feel dry but in reality, all that moisture added on top of your base paint & raised stenciling has re-moistened everything. You need to give it time to dry completely and thoroughly – if you don’t you’ll actually pull off your beautiful base with your Paint Inlay’s backing paper. I’ve done this and ruined a full eight-page Paint Inlay due to my impatience. Don’t make that mistake. Let it dry. It takes a little longer to complete a project but the alternative is devastating. Plus… we all have more than one project on the go to keep us occupied while we wait right? No? Just me?
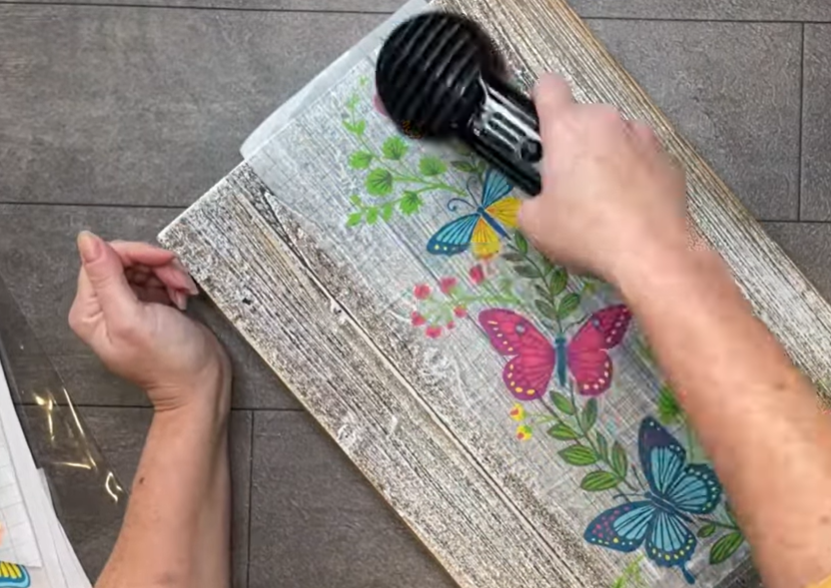

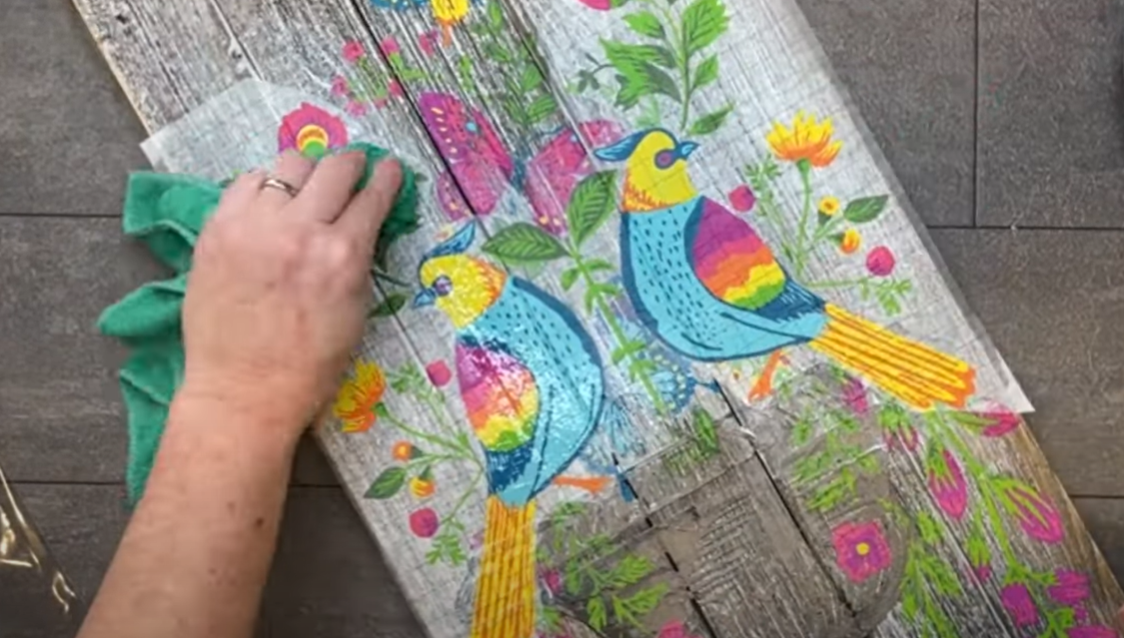
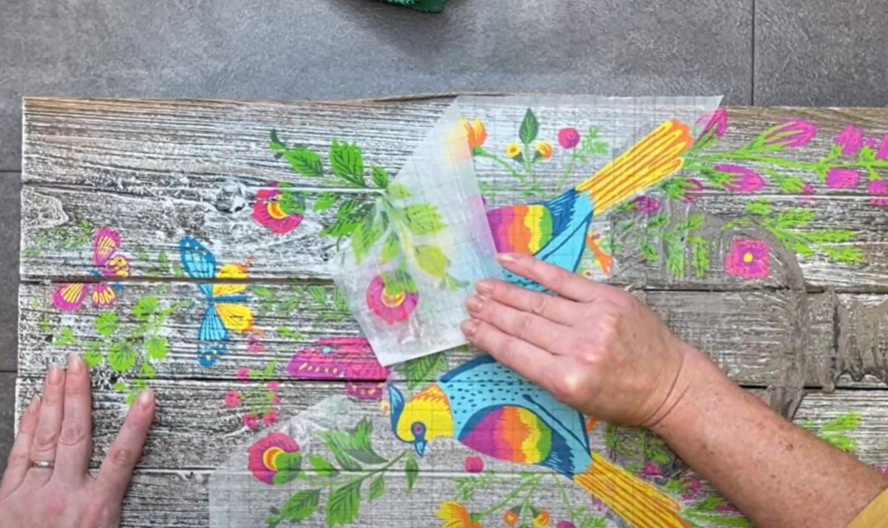
After the inlay has dried completely, repeat the misting with water and push with a wet cloth step you did earlier in order to set your Inlay. This is now going to release that backing paper from the Paint Inlay allowing you to gently peel the backing paper away from your project. If you find the paper tearing in spots as you pull, gently press down again with your wet cloth to help release it.

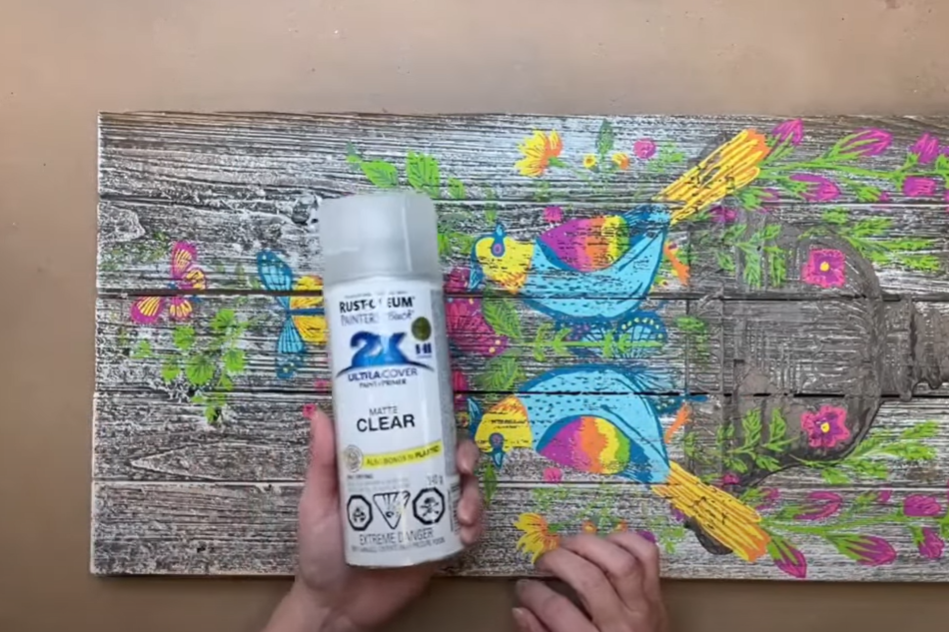
Keep in mind that a Paint Inlay is made with chalk-style paint and it will reactivate with water or the moisture from a sealant. Therefore the sealing step is important to be careful with. You may either mist your project with a can of spray sealer (water based) or if you’re brave, you may brush or use a roller to apply your sealer. I’ve done all three with success. If choosing to use a brush or a roller, do NOT over brush or roll. Make a quick swipe over the Paint Inlay and leave it to dry. Don’t play with it. Once that “swipe coat” has dried, you’re free to go back with your second coat and take a little more time and care with your application. You don’t want all your hard work to get smeared by your final step.

Once you’ve sealed your Paint Inlay, you’re free to get creative to enhance the visual appeal. Consider adding highlights or shadows with additional paint or wax. Gilding wax can be used to accentuate raised areas and bring a touch of elegance to the design.
Working with paint inlays on textured surfaces can transform a simple project into a work of art. By following these steps and allowing yourself to experiment with different techniques, you’ll find that the possibilities are endless. Whether you’re a seasoned crafter or new to the world of DIY, the key is to embrace creativity and let your imagination lead the way. If you’d like a bit more of an in depth how-to, you can watch the full tutorial on my YouTube Channel.
Remember, the beauty of crafting is in the process, not just the final product. So, grab your materials and give it a go – you might just surprise yourself with what you can create.